How to Prevent Sensor Bloom from Smartphone LED Lights: Easy Fixes to Reduce Glare and Overexposure
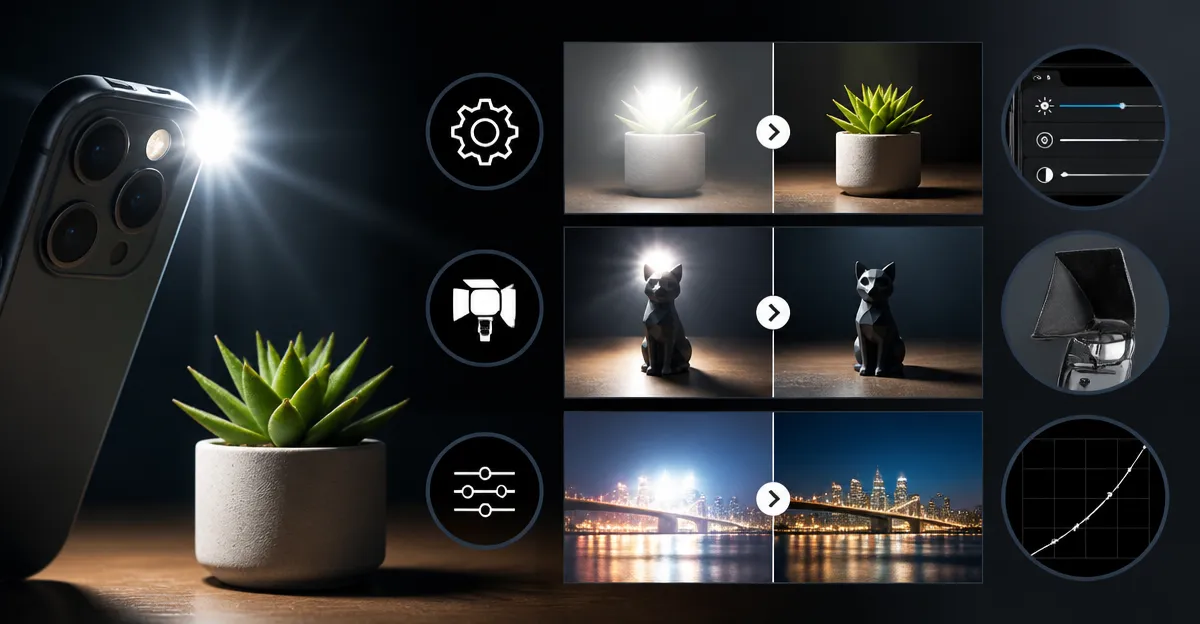
One often encounters sensor bloom when the bright LED flash of a smartphone illuminates a scene with high contrast. This phenomenon appears as a washed‑out halo that reduces detail in both highlights and shadows. The guide below explains how to recognise, mitigate and correct sensor bloom using practical adjustments and inexpensive tools. By following the steps, one can produce images with balanced exposure and professional‑grade clarity.
The techniques presented are applicable to a wide range of devices, from flagship smartphones to compact cameras that use built‑in LED illumination. While software solutions can improve the final image, addressing the problem at the source yields the most reliable results.
What You’ll Need
- Smartphone with manual exposure controls (or a camera app that provides them)
- External lens adapter (optional) that accepts 58mm accessories
- Altura Photo Lens Hood – a screw‑mount hood that blocks stray LED light
- CamKix Lens Hood Set – collapsible rubber hoods for quick deployment
- JJC Tulip Lens Hood – reversible design for compact storage
- Neutral density (ND) filter or small diffuser (optional)
- Micro‑fiber cleaning cloth
Step 1: Evaluate the Lighting Situation
Before capturing an image, one should assess the intensity and direction of the smartphone LED. If the LED is positioned close to the subject, the light will likely exceed the sensor’s dynamic range, causing bloom. One can reduce this risk by moving the phone farther away or by angling the LED away from the main subject. In indoor environments, consider using ambient lighting instead of the built‑in LED whenever possible.
Step 2: Adjust Manual Exposure Settings
Most modern smartphones allow manual control over ISO, shutter speed, and exposure compensation. Lowering the ISO reduces the sensor’s sensitivity to bright light, while a slightly faster shutter speed limits the duration of LED exposure. If the device offers an exposure lock, engage it after framing the shot to maintain consistent settings. These adjustments directly address the root cause of bloom by preventing the sensor from being overwhelmed.
Step 3: Apply Physical Shading with a Lens Hood
Physical shading is one of the most effective ways to block stray LED light before it reaches the sensor. The Altura Photo Lens Hood features a screw‑mount design that attaches securely to a 58mm adapter ring, eliminating wobble during active shooting. Its tulip shape blocks glare without introducing vignetting, and the hard‑rubber construction absorbs minor impacts, protecting the smartphone lens from accidental bumps.
For photographers who prefer a flexible solution, the CamKix Lens Hood Set includes two collapsible rubber hoods that can be folded to three positions. This adaptability allows one to fine‑tune the amount of shading while keeping the hood attached for quick deployment. The rubber material conforms to the adapter ring, providing a snug fit that stays in place even when the phone is moved.
When storage space is limited, the JJC Tulip Lens Hood offers a reversible design that folds back over the lens, reducing bulk. Its matte interior surface minimizes internal reflections, further decreasing the chance of flare caused by LED light. By placing any of these hoods over the smartphone lens, one creates a physical barrier that limits direct LED illumination, thereby reducing sensor bloom.
Step 4: Use a Neutral Density Filter or Diffuser
When the LED cannot be avoided, an ND filter can lower the overall light intensity reaching the sensor. A 0.3‑0.6 ND filter reduces exposure by one to two stops, which is often sufficient to keep the sensor within its linear response range. If a filter is not available, a thin diffuser (such as a piece of tracing paper) can scatter the LED light, softening hotspots and preventing concentrated glare.
Attach the filter to the same 58mm adapter ring used for the lens hood. The combination of a hood and an ND filter provides both directional shading and overall light reduction, delivering a balanced exposure without sacrificing image sharpness.
Step 5: Perform Post‑Processing Corrections
Even after careful preparation, minor bloom may remain in the captured image. Software tools such as Adobe Lightroom or free alternatives like Darktable offer localized de‑haze and highlight recovery sliders. Apply these adjustments selectively to the affected areas, preserving detail while avoiding over‑processing. Export the final image in a high‑bit‑depth format to retain the improvements made during editing.
Tips & Pro Tips
- Always clean the smartphone lens with a micro‑fiber cloth before attaching any accessory to prevent dust from causing additional flare.
- If the LED is too bright for manual settings, consider disabling it and using a continuous light source with a lower intensity.
- When shooting video, lock the exposure settings for the entire clip to maintain consistency and avoid intermittent bloom.
- Test the hood orientation before the shoot; the tulip shape works best when the wider petals face the LED source.
- Store rubber hoods in a cool, dry place to preserve their flexibility and prevent cracking.
Troubleshooting
Problem: Bloom persists despite using a lens hood.
Solution: Verify that the hood is correctly seated on the adapter ring and that no gaps exist between the hood and the lens. If the LED is still directly in the line of sight, add an ND filter or increase the shutter speed further.
Problem: Vignetting appears after attaching a hood.
Solution: Ensure the hood matches the 58mm thread size of the adapter. Using a hood designed for a larger diameter can cause the edges to intrude into the field of view, creating vignetting.
Conclusion
By understanding the cause of sensor bloom and applying a combination of exposure adjustments, physical shading, and optional filtering, one can dramatically improve image quality when using smartphone LED lights. The recommended accessories—Altura Photo Lens Hood, CamKix Lens Hood Set and JJC Tulip Lens Hood—provide affordable, effective solutions for controlling stray LED light. Implementing these steps will enable one to capture crisp, well‑exposed photographs without the distracting glare of sensor bloom.
Products Mentioned in This Guide
Frequently Asked Questions
What is sensor bloom and why does it occur with smartphone LED flashes?
Sensor bloom is a washed‑out halo caused by the sensor being overwhelmed by the bright LED flash, especially in high‑contrast scenes.
How can I reduce sensor bloom using manual exposure controls?
Lower the flash intensity, shorten the exposure time, or adjust ISO and shutter speed to prevent the sensor from overexposing bright areas.
Can a lens hood or diffuser prevent sensor bloom?
Yes, a screw‑mount hood or a small diffuser blocks stray LED light and softens illumination, reducing the halo effect.
Are there software solutions to fix sensor bloom after the photo is taken?
Post‑processing tools can recover some detail, but correcting the issue at capture yields the most reliable results.
What inexpensive accessories help minimize LED glare on any smartphone?
A simple clip‑on lens hood, a translucent diffuser disc, or a small piece of matte tape over the flash can effectively cut glare without breaking the bank.