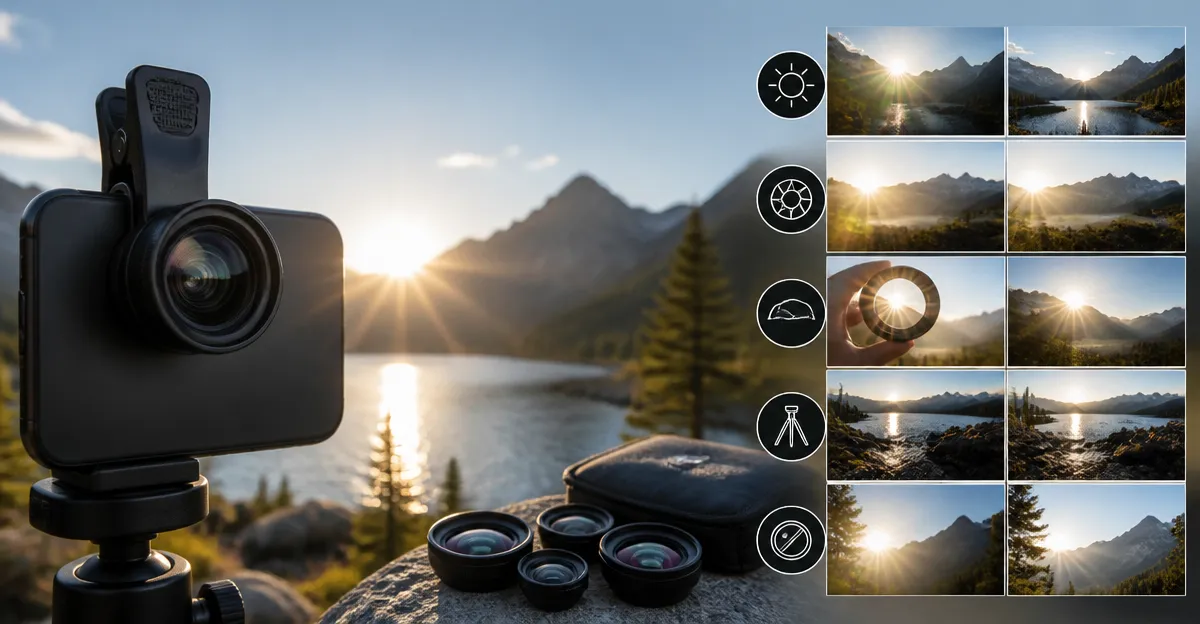
How to Reduce Lens Flare When Using a Clip-On Smartphone Lens: 10 Simple, Proven Tips
Introduction
Lens flare occurs when stray light enters a camera lens and reflects off internal elements, producing unwanted streaks, halos, or reduced contrast. For creators who rely on clip‑on lenses, flare can undermine the professional look of photos and videos. This guide explains ten practical, evidence‑based techniques to minimise flare, while recommending affordable tools that integrate seamlessly with popular smartphone lens kits. By following each step, readers will achieve clearer images, richer colours, and a more polished visual style—whether shooting on a weekend hike, a product‑review video, or a social‑media story.
What You’ll Need
- Smartphone with clip‑on lens attachment
- Cleaning cloth (included with most kits)
- Mini LED fill light – e.g., the Xenvo Pro Lens Kit GlowClip
- Small lens hood or shade (can be improvised with a matte cardboard flap)
- Adjustable phone grip or tripod for stable positioning
- Protective travel case to keep lenses free of dust
Step 1 – Clean Every Optical Surface
Even a speck of dust on the macro or wide‑angle element can scatter light, amplifying flare. Use the microfiber cleaning cloth supplied with the Xenvo Pro Lens Kit to gently wipe each lens before each shooting session. Avoid circular motions that could create micro‑scratches; instead, swipe in a straight line from the centre outward. A clean surface ensures that the only light entering the system is the intended subject light.
Step 2 – Employ a Simple Lens Hood
Commercial lens hoods are rare for clip‑on accessories, but a DIY shade made from matte black cardstock can block stray sunlight from hitting the lens edges. Cut a small rectangular flap, tape it to the rear of the clip, and angle it toward the dominant light source. The hood reduces the angle of incident light, preventing internal reflections that cause flare. For users who prefer a ready‑made solution, the KEYWING 3‑in‑1 Phone Lens Kit includes a compact clip that can be paired with a custom‑cut hood without interfering with the lens mount.
Step 3 – Position the Light Source Behind the Subject
When the primary illumination originates behind the subject, the lens captures the light directly, often resulting in flare. Adjust your shooting angle so that the sun or bright LED is angled 30‑45 degrees away from the lens axis. This positioning allows the subject to be illuminated while the lens receives only diffused light, dramatically reducing flare. If natural light is insufficient, attach the GlowClip LED from the Xenvo Pro Lens Kit to the phone’s side and set it to low or medium brightness to provide even fill without harsh hotspots.
Step 4 – Use the Clip‑On Lens at Its Optimal Distance
Clip‑on lenses are designed to sit a specific distance from the smartphone camera sensor. If the lens is too close, the peripheral glass can act like a prism, scattering light. Ensure the TruGrip clip (Xenvo) or the universal clip (KEYWING) is fully engaged and that the lens sits flush against the phone without a gap. For macro work, maintain the recommended 0.5‑inch distance from the subject; this reduces the need for extreme close‑up positioning, which often forces the photographer to raise the light source into the frame and introduces flare.
Step 5 – Adjust Exposure Manually
Automatic exposure algorithms may boost ISO or shutter speed when flare reduces contrast, adding noise to the image. Switch to manual mode in your camera app and lower the exposure compensation by one or two stops. This forces the sensor to capture a darker image, preserving highlight detail and preventing the bright flare from washing out the scene. Pair this technique with the LEKNES 3‑in‑1 Phone Lens Kit, whose high‑quality optical glass retains sharpness even at reduced exposure levels.
Step 6 – Add a Polarising Filter (Optional)
Some clip‑on kits, such as the ANJIELO 3‑in‑1 Phone Lens Kit, include a thin polarising layer on the macro element. When rotated, the filter can diminish reflections from glossy surfaces, which are a common source of flare. Rotate the lens until the unwanted reflections fade; this simple adjustment can dramatically improve contrast in water, glass, or metallic subjects.
Step 7 – Shield the Lens with a Small Umbrella
Professional photographers often use a small white umbrella to diffuse harsh sunlight. A miniature version can be positioned above the phone, directing soft light onto the subject while casting a shadow over the lens. This method works well with the Apexel 2‑in‑1 Phone Lens Kit, whose compact design leaves enough clearance for a handheld diffuser. The result is a flare‑free image with natural‑looking shadows.
Step 8 – Keep the Lens Parallel to the Subject Plane
When the lens axis is tilted relative to the subject, internal reflections bounce between the front and rear elements, creating flare patterns. Align the clip so that the lens barrel is parallel to the subject surface—especially important for macro photography of flat objects like watches or printed material. The sturdy TruGrip clip on the Xenvo kit provides a stable, level platform, ensuring consistent alignment across multiple shots.
Step 9 – Use Post‑Processing to Reduce Residual Flare
Even with careful technique, minor flare may persist. Software tools such as Adobe Lightroom or the free Snapseed app offer a “Highlights” slider that can recover blown‑out areas. Additionally, the “Selective” brush can darken flare spots without affecting the rest of the image. While post‑processing is a safety net, it should complement—not replace—good capture practices.
Step 10 – Store Lenses Properly to Prevent Dust Accumulation
After each shoot, place the lenses back into the protective travel case included with the Xenvo Pro Lens Kit. The DuraCase shields the optics from dust, fingerprints, and scratches, which are primary contributors to flare over time. Regularly inspect the lenses for smudges and clean them with the supplied cloth before the next session.
Tips & Pro Tips
- Avoid shooting directly into the sun; use a reflector to bounce light onto the subject instead.
- When using the macro lens, a steady tripod or a phone grip reduces hand‑shake, allowing you to use lower ISO and avoid flare‑induced noise.
- Experiment with the three brightness settings of the GlowClip LED to find the sweet spot where the subject is illuminated without creating hot spots.
- If you frequently shoot outdoors, consider a removable anti‑flare sleeve made from matte black silicone; it can be slipped over the lens barrel for quick deployment.
Conclusion
Lens flare no longer needs to be an unavoidable side effect of clip‑on smartphone photography. By cleaning lenses, using simple shading, positioning light sources strategically, and employing the right accessories—such as the Xenvo Pro Lens Kit, KEYWING 3‑in‑1 Kit, or Apexel 2‑in‑1 Kit—photographers can produce crisp, contrast‑rich images in any environment. Apply the ten steps consistently, and you will notice a marked improvement in image quality, leading to more engaging content for social media, client projects, or personal portfolios.
Products Mentioned in This Guide
Frequently Asked Questions
What causes lens flare on clip‑on smartphone lenses?
Flare occurs when stray light hits the lens surface and reflects off internal elements, creating streaks, halos, or loss of contrast.
How can a lens hood or shade help reduce flare?
A hood blocks off‑axis light from entering the lens, preventing unwanted reflections that cause flare.
Is cleaning the clip‑on lens important for flare control?
Yes, dust and smudges scatter light and amplify flare, so wipe the lens with a microfiber cloth before shooting.
Can a mini LED fill light reduce flare in bright conditions?
A fill light provides controlled illumination, allowing you to position the main light source away from the lens and minimise stray light.
What smartphone accessories improve stability and help avoid flare?
Using a grip or tripod keeps the phone steady, letting you align the lens precisely and use shading tools without shaking.