How to Position an LED Fill Light for Flattering Smartphone Portraits
Introduction
One will learn how to arrange an LED fill light to produce even, flattering illumination for smartphone portrait photography. The guide explains why proper lighting improves skin tone, reduces shadows, and creates a professional appearance. It also demonstrates how to select and use affordable lighting tools that are widely available on Amazon. Mastering these techniques enables one to create content that stands out on platforms such as TikTok, YouTube, and Instagram.
What You Will Need
- LED fill light (examples include Ci-Fotto LED Photography Light 2-Pack, NEEWER Magnetic RGB Camera Light, TELESIN Magnetic Selfie Light, ALTSON Portable Selfie Light, Newmowa Rechargeable Clip Fill Light)
- Smartphone with camera capability
- Tripod or stable surface for the phone
- USB power source or portable battery (if required by the light)
- Optional diffuser or color filter set
Step 1: Prepare the Shooting Environment
One should begin by selecting a location that offers a neutral background and minimal ambient light interference. A plain wall or simple backdrop reduces distractions and allows the LED fill light to dominate the scene. It is advisable to turn off overhead fluorescents and close windows to avoid mixed color temperatures. Position the smartphone on a tripod at eye level to maintain a consistent framing throughout the session.
Step 2: Set Up the LED Fill Light
One should unpack the chosen LED fill light and attach any included tripod or mounting clip. The Ci-Fotto LED Photography Light 2-Pack provides a dimmable 5600K panel, two adjustable tripods, and a set of color filters; it is priced at $25.99 and holds a rating of 4.3 out of 5 stars from 1,374 reviews. This kit is useful because the USB power option allows connection to a power bank, enabling flexible placement without nearby outlets. After mounting the panel, connect the USB cable to a reliable power source and verify that the light powers on.
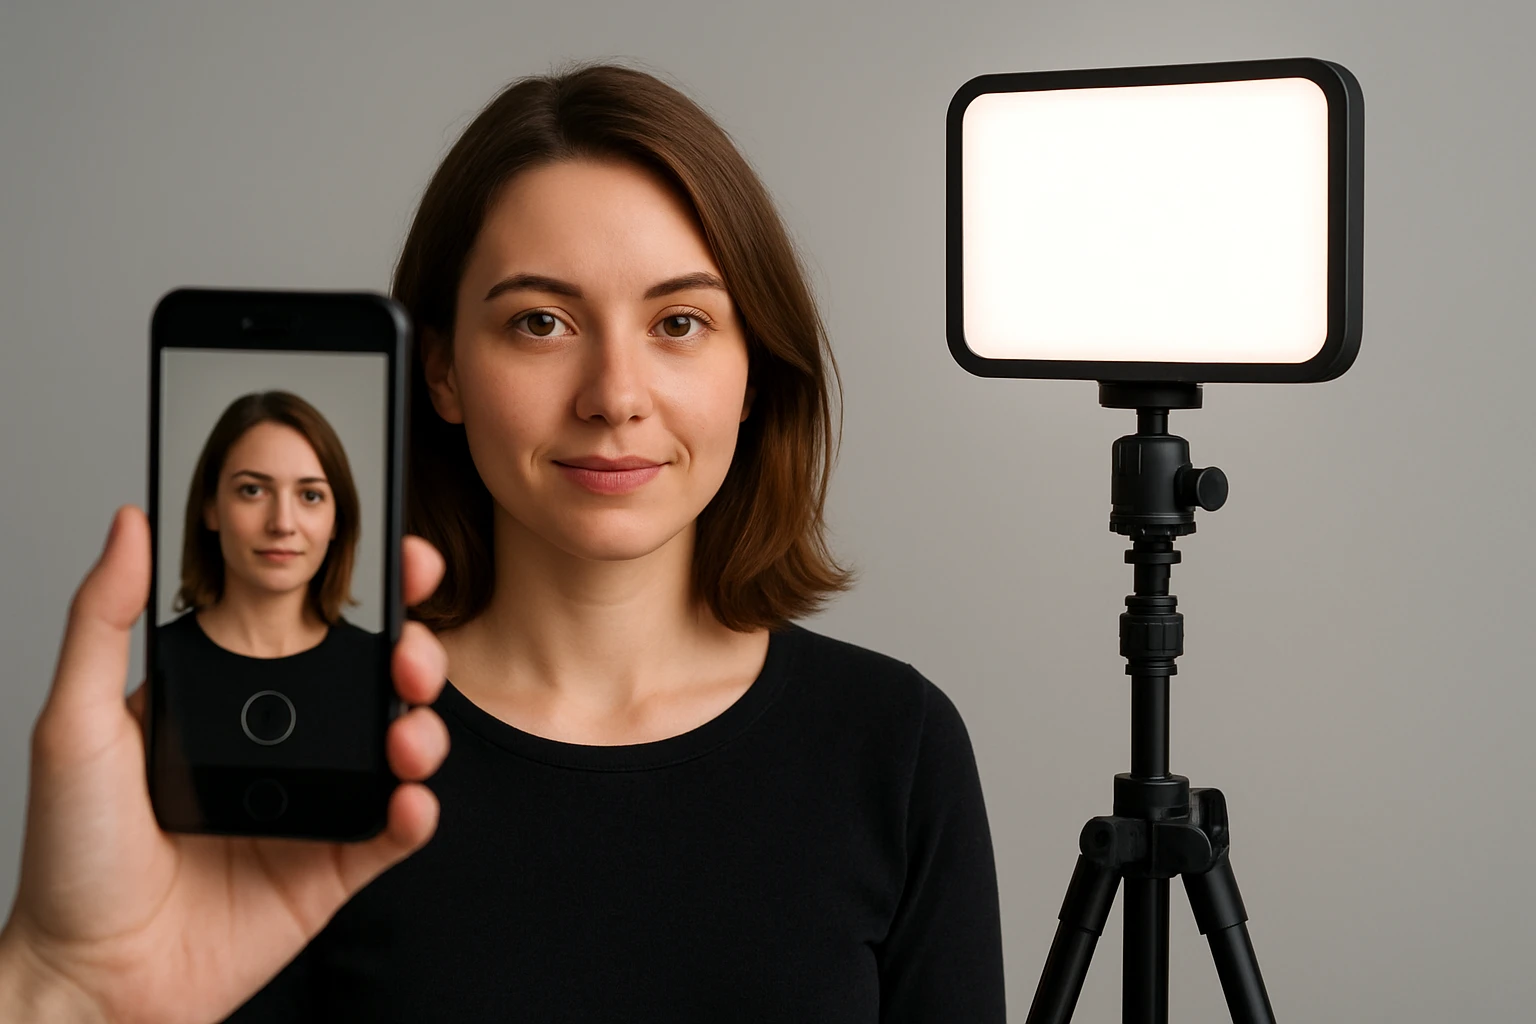
Step 3: Position the Light Relative to the Subject
One should place the LED panel at a 45-degree angle to the subject’s face, slightly above eye level, to create a natural catch‑light and soften shadows. The adjustable height range of 26 to 48 inches on the Ci‑Fotto stand permits fine‑tuning for different portrait sizes. If a magnetic mounting solution is preferred, the TELESIN Magnetic Selfie Light adheres directly to the back of an iPhone or to a metal ring adapter, offering 360° rotation and three color temperature presets; it costs $24.95 and enjoys a 4.4‑star rating from 790 reviewers. This device is valuable for on‑the‑go creators who need a compact, phone‑mounted fill light without a separate stand. Ensure the light is angled so that the illuminated side of the face receives gentle fill while the opposite side retains a subtle contour.
Step 4: Adjust Color Temperature and Brightness
One should calibrate the light’s color temperature to match the ambient environment or to achieve a desired mood. The Ci‑Fotto panel offers a brightness range from 10% to 100%, allowing one to avoid overexposure in close‑up shots. For creative color effects, the NEEWER Magnetic RGB Camera Light provides a 2500K‑8500K temperature range, 61 LEDs, and 20 scene modes; it is priced at $16.99 and carries a 4.6‑star rating from 3,570 reviewers. This light is especially useful when one wishes to add a subtle warm glow for a cozy portrait or a cool tone for a modern aesthetic. Adjust the brightness until the subject’s skin appears even and luminous without harsh glare. Use the included diffuser on either light to soften the output further if the subject’s skin is reflective.
Step 5: Capture and Evaluate the Portrait
One should now take a series of test shots while observing the histogram and preview on the smartphone screen. Verify that the highlights do not clip and that the shadows retain detail; this indicates that the fill light is correctly balanced. If the portrait appears flat, consider raising the light slightly or adding a second panel from the Ci‑Fotto kit to fill the opposite side. For quick on‑the‑move adjustments, the ALTSON Portable Selfie Light offers nine light modes and ten brightness levels in a pocket‑size clip; it is priced at $16.41 and has a 4.6‑star rating from 4,594 reviews. Its 160° rotation and hot‑shoe adapter make it ideal for fine‑tuning the angle after the initial setup. Once satisfied, record the final portrait and compare it with earlier attempts to confirm the improvement.
Tips & Pro Tips
- Always use a neutral white balance setting on the smartphone to prevent color casts from the LED.
- When shooting in bright daylight, reduce the LED brightness to avoid a mixed‑light effect.
- Employ the color filters from the Ci‑Fotto kit to introduce creative tints without altering the LED’s output.
- For vloggers who move frequently, the Newmowa Rechargeable Clip Fill Light provides front and back clips, three light modes, and ten brightness levels; it costs $?? (price not listed) and is praised for its versatile clipping mechanism.
- Keep the LED panel at least 12 inches away from reflective surfaces to prevent unwanted hotspots.
Troubleshooting
Problem: The LED light flickers or does not stay on. Solution: Verify that the USB power source supplies a stable 5V 2A output; replace the cable if it appears damaged.
Problem: The portrait appears too cool or too warm. Solution: Adjust the color temperature using the light’s built‑in controls or switch to a different preset on the NEEWER RGB light.
Problem: Shadows remain harsh despite using a fill light. Solution: Decrease the angle of incidence by moving the light closer to the subject’s eye line or add a diffuser to broaden the light source.
Conclusion
One has now learned how to select, position, and adjust an LED fill light to achieve flattering smartphone portraits. The process emphasizes proper angle, balanced brightness, and appropriate color temperature to enhance skin tones and reduce shadows. By employing tools such as the Ci‑Fotto LED Photography Light, TELESIN Magnetic Selfie Light, and ALTSON Portable Selfie Light, one can create professional‑grade images without expensive studio equipment. Continued practice will enable one to adapt these techniques to a variety of shooting scenarios and to produce consistently high‑quality visual content.
Products Mentioned in This Guide
Frequently Asked Questions
What is the ideal distance to place an LED fill light from the subject?
Position the light about 2‑3 feet away; this provides soft, even illumination without overexposing the face.
How should I angle the LED fill light for flattering smartphone portraits?
Tilt the light 45 degrees above and slightly to the side of the subject to fill shadows while preserving natural contours.
Can I use a magnetic selfie light as a fill light for portrait photography?
Yes, magnetic selfie lights can serve as compact fill lights when mounted on a phone or tripod and positioned close to the subject.
What color temperature is best for skin tones when using an LED fill light?
A daylight-balanced temperature of 5,500‑6,500 K renders natural skin tones and works well with most smartphone cameras.
How do I avoid harsh shadows when positioning an LED fill light?
Use a diffuser or bounce the light off a white surface and keep the source slightly larger than the subject’s face.