Introduction
This guide explains how a solo documentary filmmaker can create a reliable gimbal workflow using only a smartphone and a few essential accessories. The reader will learn how to plan a shoot, configure a stabilizer, capture steady footage, and apply post‑production techniques that enhance visual storytelling. By following each step, one can achieve cinematic quality without the expense of a full‑size camera rig. The information is valuable because it reduces equipment complexity while preserving creative control.
What You'll Need
- Smartphone with a high‑resolution camera (iOS or Android)
- Portable gimbal stabilizer – see product recommendations below
- Bluetooth remote or built‑in remote control
- External lighting (the fill light integrated in the gimbals is sufficient for most indoor scenes)
- Tripod or sturdy surface for static shots
- Video editing app on the phone or computer
Step 1: Plan Your Shots and Storyboard
Effective documentary work begins with a clear narrative structure. One should write a brief outline that identifies the main interview subjects, location types, and key visual motifs. Then create a storyboard that marks where smooth motion will add emotional impact, such as a walking interview or a sweeping landscape reveal. By mapping these moments, the filmmaker can decide when a gimbal is essential and when a static tripod will suffice.
During planning, note the lighting conditions of each location. If the scene will be filmed in low‑light interiors, the built‑in fill light of a gimbal will reduce noise and improve color fidelity. Conversely, bright outdoor environments may only require a neutral density filter, which can be attached to the smartphone lens.
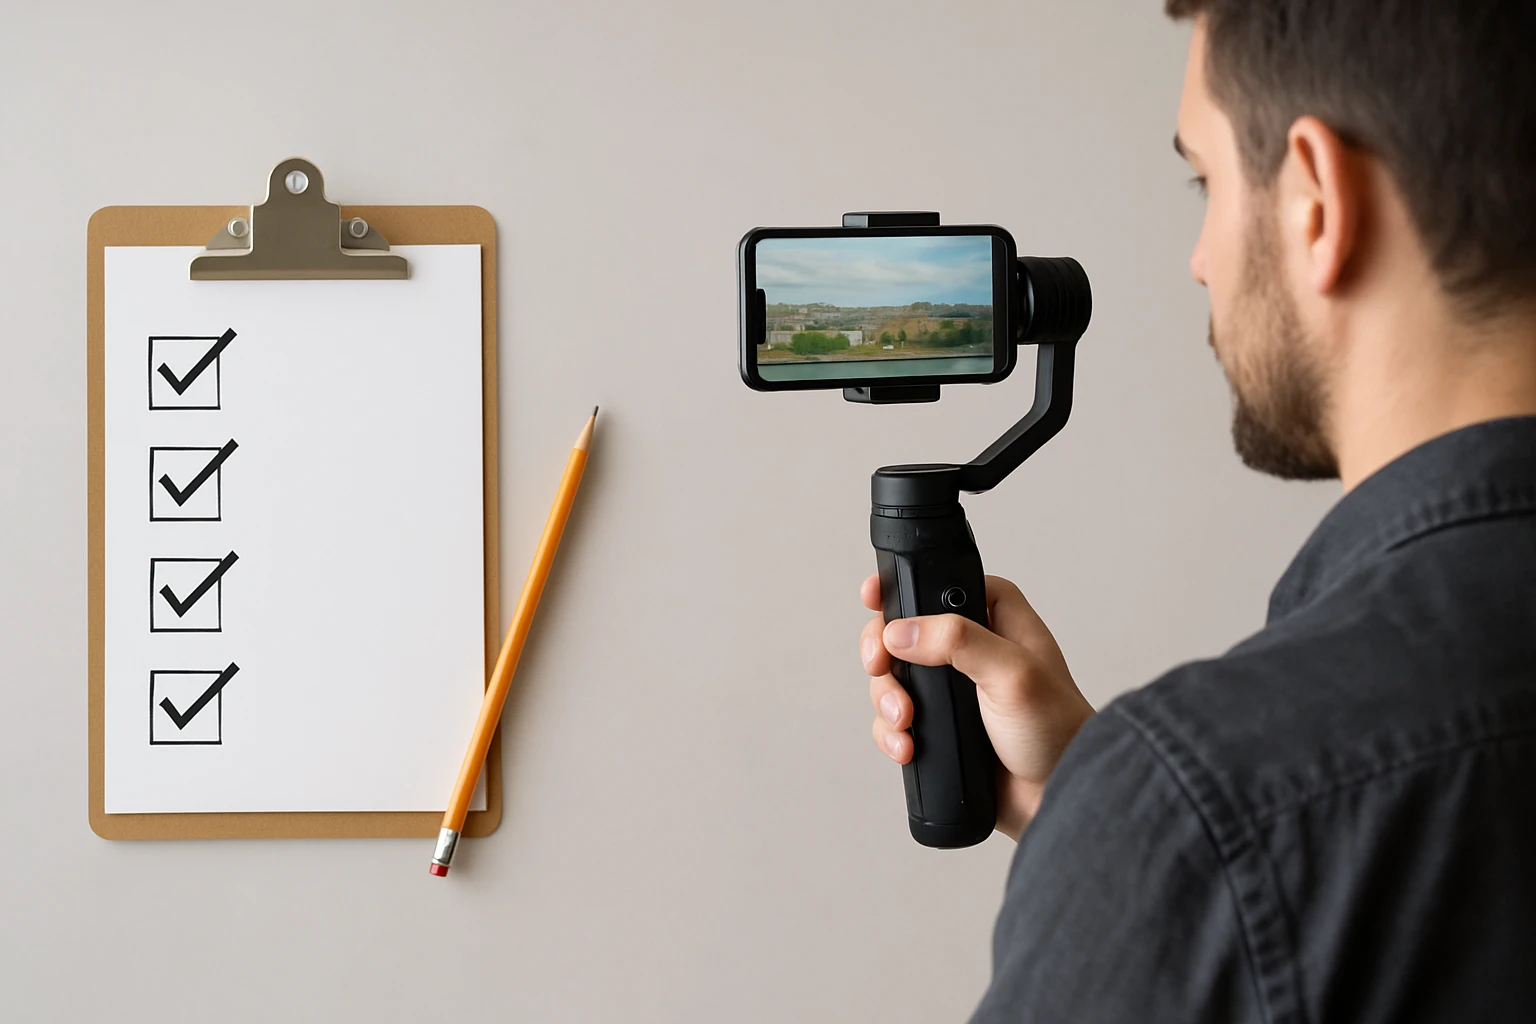
Step 2: Choose and Set Up Your Gimbal
Selection of a gimbal depends on budget, payload, and desired feature set. For filmmakers who prioritize portability and cost‑effectiveness, the Acer 1-Axis Gimbal offers a lightweight 8.29 oz design that folds to 5.9 inches, making it ideal for travel. It provides high‑performance stabilization through motion gyroscopes and anti‑shake technology, delivering smooth footage for vlog‑style interviews and walk‑and‑talk sequences. The detachable Bluetooth remote with a 32.8 ft range allows hands‑free operation, and the integrated fill light offers three colors and nine brightness levels for balanced illumination.
Key specifications of the Acer gimbal include a price of $29.99, a rating of 4.4 / 5.0 from 113 reviews, and compatibility with most iOS and Android devices. Its no‑app requirement simplifies setup, allowing the filmmaker to toggle between portrait and landscape modes with a single button press.
For creators who need advanced tracking, multi‑axis stability, and magnetic lighting extensions, the ZHIYUN Smooth 5E Combo delivers a cinema‑grade three‑axis system with a 300 g payload capacity. The orthogonal design expands the shooting space, while five distinct gimbal modes (pan‑follow, lock, full‑follow, POV, and V) enable precise control over motion dynamics. Built‑in and magnetic fill lights double the illumination potential, and gesture‑based controls allow the filmmaker to start recording without touching the device.
The ZHIYUN model is priced at $94.00, carries a rating of 4.3 / 5.0 from 81 reviews, and includes AI tracking that works without the ZY Cami app. This makes it suitable for complex interview setups where the subject moves across the frame.
Step 3: Balance and Calibrate the Gimbal
Before any recording session, one must achieve proper balance to prevent motor strain and ensure battery longevity. Place the smartphone on the mount, adjust the sliding rails until the device remains level when the gimbal is powered off, and then lock the clamps. The Acer gimbal features an auto‑balance function that engages with a single press, reducing setup time for on‑the‑go shoots. The ZHIYUN gimbal, while manual, provides visual indicators on its OLED screen to confirm balance across all three axes.
After mechanical balance, calibrate the electronic sensors by following the on‑screen prompts. This step aligns the gyroscopes with the Earth's gravity vector, allowing the stabilizer to compensate for subtle hand movements. Calibration should be repeated whenever the payload changes or after a firmware update.
Step 4: Configure Remote Control and Lighting
Attach the Bluetooth remote to the gimbal’s designated slot. Pair the remote with the smartphone via Bluetooth 5.2; the connection range of up to 10 m ensures freedom of movement during interviews. Test the shutter button to confirm that recording can start and stop without touching the phone screen.
Activate the fill light by selecting the desired color temperature and brightness level. For indoor interviews, a medium brightness (approximately 50 % of the maximum) with a neutral white tone reduces shadows while preserving skin tones. When filming outdoors during golden hour, a low‑intensity warm light can add a subtle highlight without overexposing the scene.
Step 5: Execute Your Shot List
Follow the storyboard and use the gimbal to capture each planned movement. For walking interviews, maintain a steady pace and keep the smartphone level with the horizon; the stabilizer will smooth out minor jitters. When filming a static interview, switch the gimbal to lock mode (available on the ZHIYUN) and use the remote to start recording, allowing the filmmaker to focus on directing the subject.
Utilize the 360° rotation feature of the Acer gimbal to transition between portrait and landscape orientations without interrupting the take. This is especially useful for social‑media platforms that require both formats. On the ZHIYUN, employ the gesture recognition control to start recording with a simple “yeah” hand sign, keeping the workflow hands‑free.
Step 6: Review and Adjust in Real Time
After each take, playback the footage on the smartphone to assess stability, exposure, and framing. If the video exhibits wobble, revisit the balance and tighten the clamps. If lighting appears uneven, modify the fill‑light intensity or reposition the gimbal to change the angle of illumination.
Make notes in a production log to track which settings produced the best results. This iterative approach refines the workflow and reduces the need for extensive reshoots.
Tips & Pro Tips
- Carry a spare power bank; both gimbals consume battery rapidly during continuous recording.
- Use a neutral density (ND) filter on the smartphone lens when filming in bright daylight to maintain a cinematic shutter speed of 1/48 s.
- For multi‑camera interviews, set the gimbal to portrait mode on one device and landscape mode on another to capture complementary angles.
- Enable the “auto‑turn‑off” feature on the ZHIYUN to conserve battery when the gimbal is idle for more than 30 seconds.
Troubleshooting
Problem: The gimbal vibrates during recording.
Solution: Verify that the smartphone is centered on the mount and that all balance sliders are locked. Reduce the payload by removing any additional accessories such as external lenses.
Problem: Remote control does not respond.
Solution: Ensure Bluetooth is enabled on the phone, disconnect any other paired devices, and re‑pair the remote. If the issue persists, replace the remote battery.
Problem: Fill light flickers.
Solution: Adjust the brightness level to a lower setting, as higher levels can cause power draw fluctuations. Use a fully charged battery to maintain stable output.
Conclusion
By following this structured workflow, a solo documentary filmmaker can produce steady, well‑lit smartphone footage that rivals traditional camera rigs. The guide covered planning, equipment selection, balancing, remote operation, shot execution, and post‑shoot review. With the recommended gimbals, one can adapt to a range of shooting environments while maintaining professional quality. The reader is encouraged to experiment with the techniques described and to refine the process for each unique documentary project.
Products Mentioned in This Guide
Frequently Asked Questions
What essential accessories are needed for a solo documentary gimbal workflow?
You need a high‑resolution smartphone, a portable gimbal, a Bluetooth or built‑in remote, external lighting (often the gimbal’s fill light), a tripod, and a video editing app.
How does planning and storyboarding improve gimbal shooting?
A clear outline defines shot composition and movement, helping you position the gimbal efficiently and maintain narrative flow.
Can I use the gimbal’s built‑in fill light for indoor interviews?
Yes, most gimbals include a fill light that provides sufficient illumination for typical indoor documentary scenes.
What is the best way to capture steady footage with a smartphone gimbal?
Balance the phone correctly, enable the gimbal’s lock mode for static shots, and use a remote or timer to avoid camera shake when starting recordings.
How can I enhance gimbal footage in post‑production on a phone?
Use a mobile editing app to apply stabilization, color grading, and audio cleanup, then export in a high‑resolution format for final delivery.