How to Create Cinemagraphs Using Gimbal Motion: Step‑by‑Step Guide to Smooth, Cinematic Loops
Introduction
In this guide, the reader will discover how to transform ordinary video footage into captivating cinemagraphs that loop seamlessly. Cinemagraphs combine the static quality of a photograph with subtle, repeating motion, creating a hypnotic visual effect. By mastering gimbal techniques, one can achieve professional‑grade stability and fluid motion without expensive equipment. The process described here is applicable to both smartphone creators and DSLR users, ensuring broad relevance.
The guide emphasizes practical actions, explains why each tool is valuable, and provides actionable advice that can be implemented immediately. Whether one is a travel vlogger, a social‑media marketer, or a hobbyist photographer, the ability to produce high‑quality cinemagraphs adds a compelling dimension to visual storytelling.
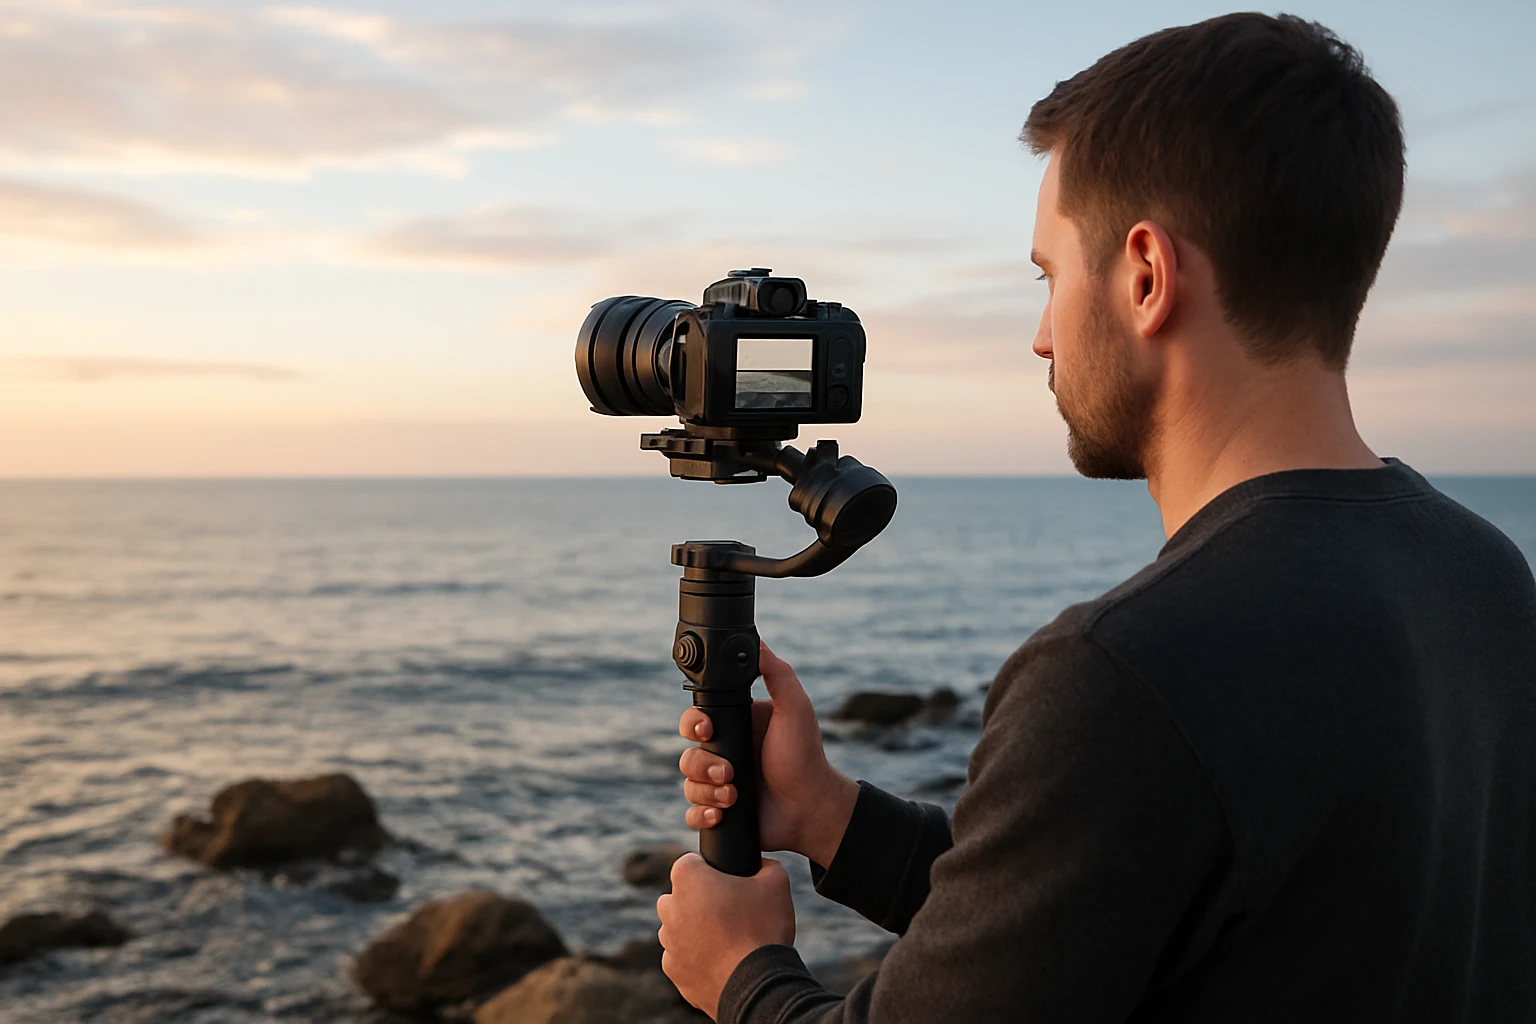
What You'll Need
- Smartphone or DSLR capable of recording at least 30 fps.
- Three‑axis gimbal stabilizer (recommended: Hohem iSteady X3 SE, DJI Osmo Mobile 7, or FeiyuTech SCORP‑C2).
- Tripod or stable surface for mounting the gimbal when needed.
- Video editing software that supports masking and loop export (e.g., Adobe Premiere Pro, Final Cut Pro, or free alternatives such as DaVinci Resolve).
- Optional remote controller for hands‑free operation.
Step 1: Plan the Shot and Identify the Loop Point
Before powering on any equipment, one should visualize the desired motion and locate a natural loop point. A good loop often involves repetitive actions such as water flowing, a flag fluttering, or a person blinking. By selecting a scene where the motion repeats at regular intervals, the editor can later align the start and end frames without noticeable jumps.
During planning, consider lighting conditions, background clutter, and the distance between the camera and subject. Soft, diffused light reduces harsh shadows that can betray a loop. Keep the background simple to avoid distracting elements that may shift between frames.
For smartphone users, the Hohem iSteady X3 SE is lightweight (0.79 lb) and folds into a pocket, making it ideal for spontaneous outdoor scouting. Its detachable magnetic remote allows the creator to start recording without touching the phone, preserving steadiness.
Step 2: Set Up the Gimbal and Balance the Device
Proper balancing is essential to ensure that the gimbal motors do not fight the weight of the camera, which can cause jitter and reduce battery life. Follow the manufacturer's instructions to position the smartphone or DSLR on the gimbal's mount, then adjust the tilt, roll, and pan axes until the device remains level when the motors are powered off.
When using the DJI Osmo Mobile 7, the built‑in quick‑release plate simplifies mounting, and the integrated foldable tripod provides a stable base for static shots. At just 300 g, the Osmo Mobile 7 offers an ergonomic grip that reduces hand fatigue during longer recordings.
For DSLR users, the FeiyuTech SCORP‑C2 supports payloads up to 7.72 lb, accommodating most mirrorless and DSLR combinations. Its upgraded quick‑release plate enables precise center‑of‑gravity adjustments, which is critical for maintaining stability with heavier lenses.
Step 3: Capture Smooth Motion Using Gimbal Features
Activate the gimbal's stabilization mode and select a motion profile that matches the intended movement. Many gimbals provide a “follow” mode for dynamic pans and a “lock” mode for static framing. For cinemagraphs, a locked frame is often preferred because the background remains static while a specific element moves.
The Hohem iSteady X3 SE utilizes iSteady 8.0 technology, delivering ultra‑smooth footage even when the operator jogs or jumps. This capability is useful for capturing natural motions such as a waterfall from a moving viewpoint. The remote controller, effective up to 32.81 ft, permits the creator to trigger recording without disturbing the gimbal.
The DJI Osmo Mobile 7 features ActiveTrack 7.0, which can lock onto a subject and keep it centered while the camera remains still. This is advantageous when the moving element is a person walking across the frame; the gimbal will maintain a static background while the subject moves, simplifying the later masking process.
For high‑resolution DSLR footage, the SCORP‑C2’s AI tracking sensor automatically follows faces, ensuring that the subject stays in focus while the surrounding scene remains steady. This precision is valuable when the cinemagraph involves subtle facial expressions or gestures.
Step 4: Import Footage and Select the Loop Segment
Transfer the recorded video to a computer and import it into the chosen editing software. Scrub through the timeline to locate a segment where the motion repeats naturally. Mark the in‑point at the start of the repeat and the out‑point at the moment the motion returns to the same visual state.
When editing smartphone footage, consider the 11‑hour battery life of the Hohem iSteady X3 SE, which allows for extended shooting sessions without recharging. This endurance ensures that the creator can capture multiple takes to find the perfect loop.
For DSLR footage, the SCORP‑C2's robust payload capacity means that one can use larger lenses without compromising stability, resulting in higher‑quality footage that retains detail when zoomed for masking.
Step 5: Create the Cinemagraph Loop
Place the selected segment on the timeline and duplicate it to form a seamless loop. Use a mask to isolate the moving element, leaving the rest of the frame static. Most editors allow one to freeze the background by extending a still frame while the masked area continues to play.
Fine‑tune the transition between the end of the first clip and the beginning of the second by adjusting the mask feather and applying a cross‑fade if necessary. The goal is to make the loop invisible to the viewer.
Export the final cinemagraph in a format that supports looping, such as GIF or MP4 with the “loop” metadata flag. Ensure that the resolution matches the intended platform, for example 1080 p for Instagram or 720 p for web use.
Step 6: Review, Refine, and Publish
Play back the exported file on multiple devices to verify that the loop appears seamless. Check for any jitter, color banding, or unintended motion that may break the illusion. If issues arise, return to the editing stage and adjust the mask or trim a few frames.
When publishing, include descriptive alt‑text and appropriate hashtags to increase discoverability. Mention the gimbal model used, as many audiences appreciate knowledge of the tools behind the creation.
Tips & Pro Tips
- Use the gimbal's built‑in timer or remote to avoid camera shake when starting and stopping recordings.
- Shoot at a higher frame rate (e.g., 60 fps) if the editing software allows, then slow down the clip for smoother motion.
- Utilize the Hohem Joy app's AI tracking mode to automatically follow moving subjects while keeping the background locked.
- When working with the SCORP‑C2, enable the OLED display to monitor battery status and payload balance in real time.
- Keep the gimbal firmware updated; manufacturers frequently add features that improve tracking accuracy.
Troubleshooting
| Problem | Possible Cause | Solution |
|---|---|---|
| Loop jump or flicker | Misaligned start and end frames | Trim a few frames from either end and re‑export. |
| Gimbal drift during recording | Improper balancing or low battery | Re‑balance the device and ensure the battery is above 30 %. |
| Blurred moving subject | Incorrect focus mode | Switch to continuous autofocus or manual focus lock before recording. |
Conclusion
This guide has outlined a comprehensive workflow for creating cinematic cinemagraphs using gimbal motion. By planning the shot, balancing the device, leveraging advanced stabilization and tracking features, and applying precise editing techniques, one can produce smooth, looping visuals that captivate audiences. The recommended gimbals—Hohem iSteady X3 SE, DJI Osmo Mobile 7, and FeiyuTech SCORP‑C2—each offer unique strengths that align with different equipment preferences and budgets. With practice, the reader will be able to integrate cinemagraphs into social‑media campaigns, marketing materials, or personal portfolios, thereby enhancing visual storytelling.
Products Mentioned in This Guide
Frequently Asked Questions
What is a cinemagraph and how does it differ from a regular video?
A cinemagraph is a still photo with a small, looping motion area, creating a hypnotic effect unlike continuous video.
Why is a three‑axis gimbal essential for making smooth cinemagraph loops?
A gimbal stabilizes camera movement on all axes, preventing jitter and ensuring the motion repeats seamlessly.
What camera settings should I use when shooting footage for a cinemagraph?
Record at least 30 fps with consistent exposure and focus locked to maintain uniform lighting across the loop.
Can I create high‑quality cinemagraphs with a smartphone, or do I need a DSLR?
Both work; smartphones with good sensors are sufficient, while DSLRs offer higher resolution and dynamic range for advanced projects.
How do I choose the right segment of video to turn into a cinemagraph?
Select a clip where the motion is repetitive and can loop without noticeable jumps, typically a few seconds long.