How to Fix LED Flicker in Phone Videos: Easy Camera Settings and Shooting Tips
Introduction
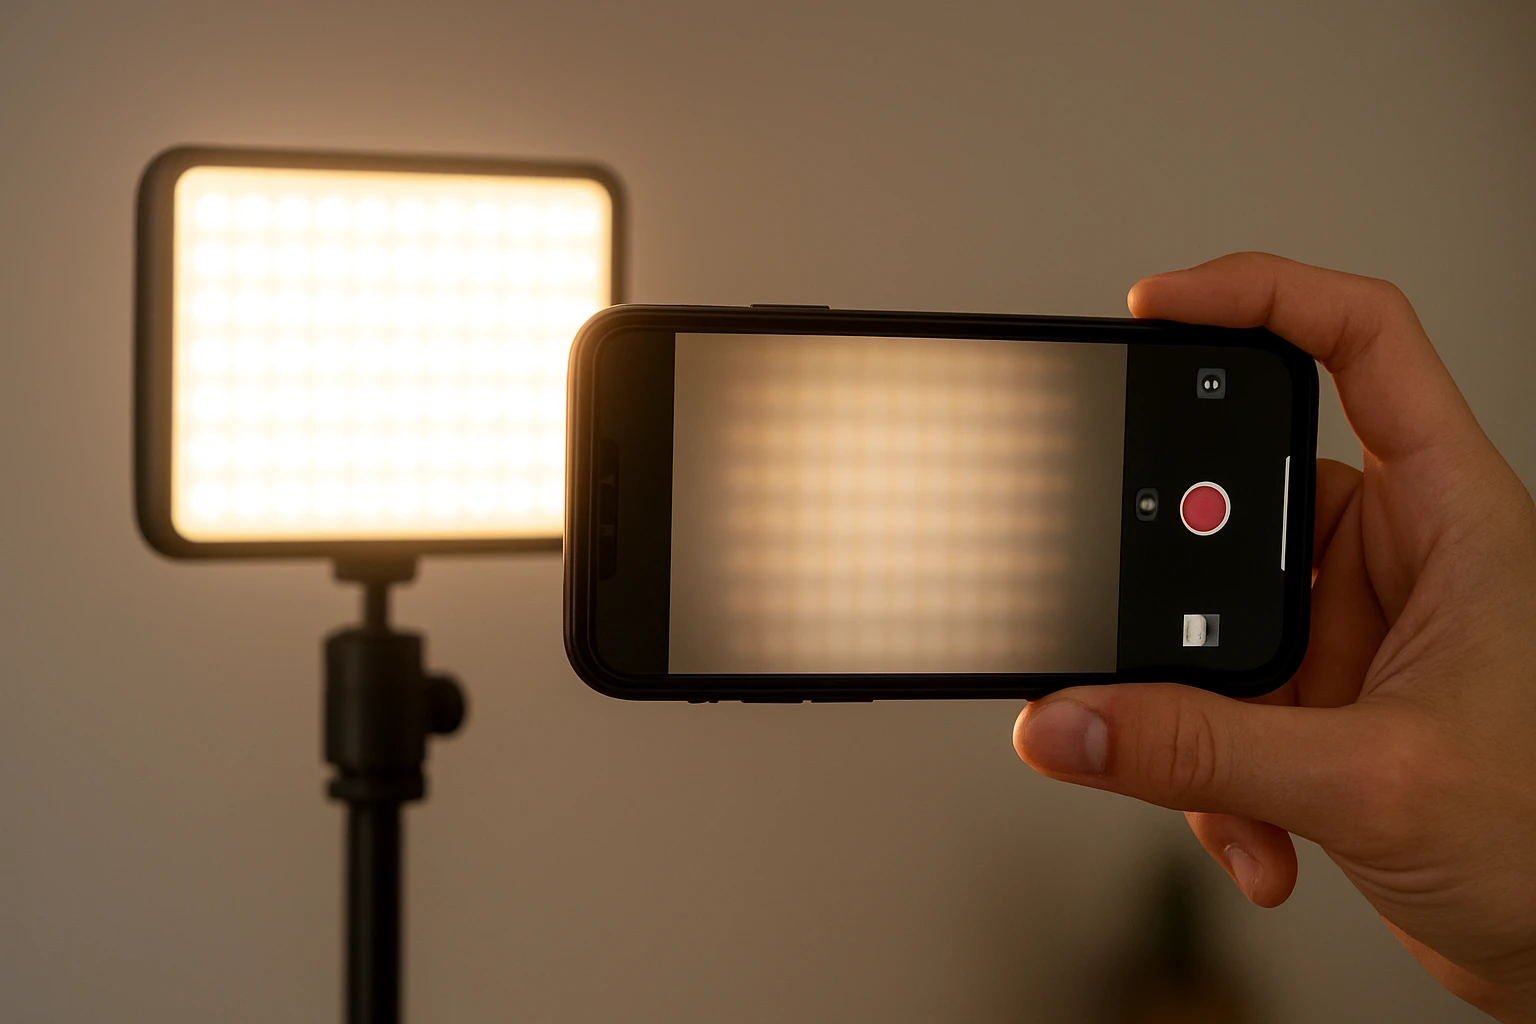
LED flicker is a common annoyance that reduces the perceived quality of phone‑captured video. When the light source pulses at a frequency that conflicts with the camera sensor, the resulting footage shows alternating bands of brightness. This guide explains why flicker occurs, which camera settings mitigate it, and which affordable accessories improve lighting consistency. By following the steps, readers will produce steady, professional‑looking videos without costly equipment.
The information is valuable for content creators, remote‑workers, and anyone who uses a smartphone for video calls or social media. Understanding the interaction between exposure time, frame rate, and LED frequency empowers one to make informed adjustments. The guide also recommends two highly rated Amazon products that simplify the process, though the techniques work without any purchase.
What You'll Need
- Smartphone with manual camera controls (or a third‑party camera app)
- Stable tripod or handheld stabilizer
- LED lighting source (optional but recommended)
- USB‑C power bank or spare batteries for continuous lighting
- Optional accessories: ALTSON Portable Selfie Light and NEEWER Bi-Color LED Video Light Kit
Step 1: Understand the Source of Flicker
The primary cause of LED flicker is the rapid on‑off cycling of LEDs to regulate power consumption. This modulation is measured in Hertz (Hz) and often sits around 100 Hz or 120 Hz for mains‑powered LEDs. When a phone records at a frame rate that does not evenly divide the LED frequency, each frame captures a slightly different phase of the light cycle, creating visible bands.
Modern smartphones expose two key parameters that influence flicker: shutter speed (or exposure time) and frame rate. Matching these values to the LED frequency reduces the likelihood of banding. For example, using a shutter speed of 1/120 s with a 30 fps recording aligns with a 120 Hz LED, eliminating flicker.
In addition, the camera's automatic exposure algorithm may constantly adjust exposure, unintentionally amplifying flicker. Disabling auto‑exposure and manually setting exposure values gives one full control over the lighting capture.
Step 2: Choose the Right Lighting Tool
While adjusting camera settings can solve many flicker issues, a stable, high‑CRI LED source provides consistent illumination and reduces the need for constant tweaking. The ALTSON Portable Selfie Light is a compact, rechargeable panel that offers three color modes (white, natural, warm) and ten brightness levels. Its CRI of 97+ ensures accurate color reproduction, and the 2200 mAh battery supplies up to 15 hours of standby time, making it ideal for on‑the‑go shooting.
For more demanding studio setups, the NEEWER Bi-Color LED Video Light Kit provides two 660‑LED panels with adjustable temperature from 3200 K to 5600 K and a 0‑100 % dimming range. The kit includes sturdy aluminum stands, a U‑shaped bracket for 360° rotation, and an LCD screen that displays current settings. With a high CRI of 96+ and a maximum output of 3300 lux at 1 m, the kit delivers flicker‑free illumination suitable for professional video recording.
Both products are praised by users—ALTSON holds a 4.6‑star rating from over 5,500 reviews, while NEEWER enjoys a 4.7‑star rating from nearly 4,000 reviewers. Their features directly address the need for stable, controllable light, reducing reliance on ambient LED sources that may flicker.
Step 3: Set Up Your Lighting
- Position the light source at a 45‑degree angle to the subject to achieve even fill lighting.
- If using the ALTSON light, clip it to the phone or mount it on a small tripod. Adjust the 160° rotation panel until the light covers the desired area.
- For the NEEWER kit, attach each panel to its stand, extend the height to eye level, and use the barndoor to shape the beam. Set the color temperature to match the ambient environment (e.g., 5600 K for daylight).
- Turn on the light and select a mid‑range brightness (around 50 %). This level provides sufficient illumination while keeping power consumption low, which helps maintain a stable output frequency.
By securing the lights on stable stands, one eliminates accidental movement that could introduce additional exposure changes. The adjustable temperature and brightness allow the user to fine‑tune the scene without changing camera settings later.
Step 4: Configure Camera Settings to Prevent Flicker
Open the phone's native camera app or a third‑party app that offers manual controls (e.g., Filmic Pro, ProCam). Follow these adjustments:
- Frame Rate: Choose a frame rate that is a multiple of the LED frequency. For most indoor LEDs powered by 60 Hz mains, 30 fps or 60 fps works well.
- Shutter Speed: Set the shutter speed to a value that matches the frame rate. A good rule is shutter speed = 1/(2 × frame rate). For 30 fps, set 1/60 s; for 60 fps, set 1/120 s.
- ISO: Keep ISO low (100‑200) to reduce noise, especially when using a bright LED source.
- White Balance: Manually select a Kelvin value that matches the LED color temperature (e.g., 5600 K for daylight or 3200 K for warm light). This prevents color shifting caused by auto‑white‑balance algorithms.
After applying these settings, record a short test clip and review it on a larger screen. If flicker persists, adjust the shutter speed in increments of 1/2 stop until the bands disappear.
Step 5: Use Software Solutions as a Backup
When hardware adjustments are insufficient, post‑processing tools can mitigate residual flicker. Desktop applications such as DaVinci Resolve or Adobe Premiere Pro include flicker removal filters that analyze frame‑by‑frame luminance changes. Mobile apps like PowerDirector also offer similar features.
Apply the filter with a low strength setting first; excessive processing may introduce ghosting artifacts. Export the video using a high‑bitrate codec to preserve quality.
Software solutions should be considered a last resort, as they increase editing time and may not fully restore the original smoothness of a flicker‑free capture.
Tips & Pro Tips
- Always test lighting before the main shoot. A 10‑second test clip reveals flicker that may not be visible on the phone's small screen.
- If you cannot lock the shutter speed, enable the camera's "anti‑banding" setting, often labeled as 50 Hz/60 Hz.
- When shooting outdoors, avoid mixed lighting (e.g., LED streetlights combined with sunlight) because differing frequencies can cause intermittent flicker.
- Use a power bank to keep LED panels powered continuously; voltage fluctuations can cause the LED driver to change frequency, reintroducing flicker.
- For interviews, position the light slightly above eye level and use a diffuser (a thin white cloth works) to soften shadows without altering the frequency.
Troubleshooting
| Problem | Possible Cause | Solution |
|---|---|---|
| Visible bands despite correct settings | LED source operates at a non‑standard frequency | Switch to a flicker‑free LED panel such as the NEEWER kit, which advertises consistent output. |
| Color shifts after adjusting white balance | Mixed lighting temperatures | Use a single light source or add color gels to harmonize temperature. |
| Battery depletion causing flicker | LED panel battery low, causing driver to pulse | Recharge or connect to an external power source before recording. |
Conclusion
LED flicker can be eliminated by understanding the relationship between frame rate, shutter speed, and light frequency, and by using stable, high‑CRI lighting tools. Adjusting camera settings, employing reliable LED panels such as the ALTSON Portable Selfie Light or the NEEWER Bi‑Color LED Video Light Kit, and performing brief test recordings ensure smooth, professional video output. By applying the tips and troubleshooting steps outlined above, one can confidently produce flicker‑free phone videos for any purpose.
Products Mentioned in This Guide
ALTSON Portable Selfie Light
Rating: 4.6/5.0 (5,563 reviews)
Features: 60 LED beads, CRI 97+, 3 light modes, 10 brightness levels, 2200 mAh battery, 15 h standby, pocket‑size (3.9×2.8×0.78 in), includes clip, USB‑C cable, ¼″ adapter.
NEEWER Bi-Color LED Video Light Kit
Price: $183.34 | Rating: 4.7/5.0 (3,990 reviews)
Features: 660 LED (330 warm, 330 cool), CRI 96+, 3200‑5600 K adjustable, 0‑100 % dimming, 3300 lux @1 m, metal barndoor, U‑bracket, LCD screen, dual power (AC or NP‑F550/970 batteries), includes two stands (26‑75 in), adapters, and carrying bags.
Frequently Asked Questions
What causes LED flicker in phone videos?
LED flicker occurs when the LED light’s pulse frequency conflicts with the camera’s sensor exposure timing, creating alternating brightness bands.
How can I adjust my phone’s camera settings to reduce flicker?
Use manual controls to match the frame rate with the LED frequency, increase exposure time, or enable a flicker reduction mode if available.
Which frame rate and exposure settings work best for eliminating flicker?
A frame rate of 30 fps or 60 fps paired with an exposure time that is a multiple of the LED’s cycle (e.g., 1/50 s for 50 Hz lights) typically minimizes flicker.
Do I need additional lighting equipment to fix LED flicker?
While optional, using a steady LED panel or a diffuser can provide consistent illumination and further reduce flicker artifacts.
Are there recommended apps or accessories for eliminating LED flicker on smartphones?
Third‑party camera apps with manual exposure controls and affordable tripod or stabilizer kits are popular solutions, and some users find specific LED lights with flicker‑free ratings helpful.