How to Make Cinemagraphs with Phone Lenses and Lights: Step‑by‑Step Guide to Pro Smartphone Motion Stills
Introduction
In this guide, one will discover how to transform ordinary smartphone footage into captivating cinemagraphs that combine motion and stillness. Cinemagraphs are powerful visual assets for social media, marketing, and personal storytelling because they draw the viewer’s eye with subtle, looping motion. By mastering lighting, composition, and editing techniques, a creator can achieve professional‑grade results without expensive camera gear. The steps below are designed for intermediate users who already understand basic smartphone photography and wish to elevate their content.
What You’ll Need
- A smartphone with a good camera and sufficient storage.
- Clip‑on lighting such as the XINBAOHONG Clip-on Selfie Ring Light for consistent illumination.
- A versatile rig like the ULANZI Smartphone Video Rig with Light to stabilize the phone and provide additional lighting options.
- A cinemagraph‑compatible editing app (e.g., Flixel, Motionleap, or Photoshop Express).
- Optional accessories: tripod, remote shutter, and a neutral background.
Step 1: Plan Your Scene
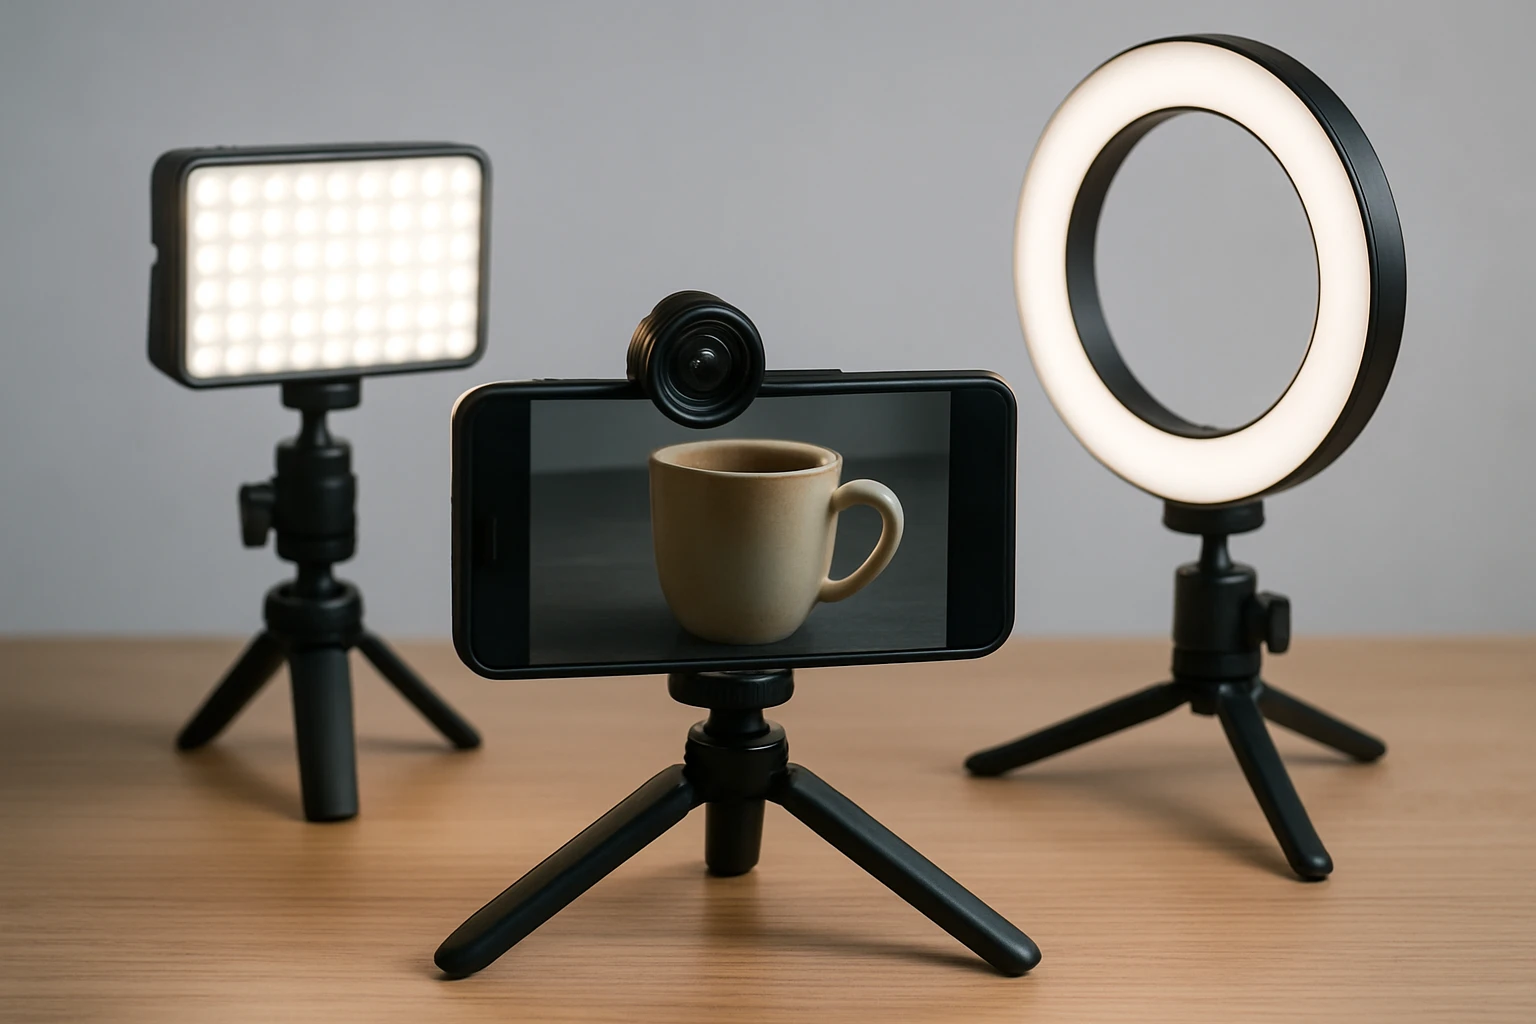
Begin by selecting a subject that contains both static and dynamic elements. Typical examples include a steaming cup of coffee, a gently swaying curtain, or a flickering candle. Sketch a quick storyboard to decide where the motion will be isolated; this helps in positioning the camera and lighting later. Ensure the background is not overly busy, as excessive detail can distract from the focal motion.
Step 2: Set Up Lighting
Even lighting is crucial because cinemagraphs often loop for several seconds, and any flicker will become noticeable. Attach the XINBAOHONG Clip-on Selfie Ring Light to the phone or a nearby surface. This ring light offers a high‑diffusion mask and 40 LEDs that distribute light evenly, reducing harsh shadows and creating a soft, downy illumination. It features three brightness levels (low, normal, high) and a rechargeable USB battery, eliminating the need for disposable cells. At a price of $9.99 and a rating of 4.3/5 from 4,387 reviews, it provides excellent value for creators on a budget.
For more complex setups, mount the phone on the ULANZI Smartphone Video Rig with Light. This rig includes an adjustable ring light with a color temperature range of 2500K‑9000K and CRI 90+, allowing one to match ambient lighting or create a warm, inviting tone. The built‑in 5000 mAh battery can power both the rig’s light and the phone simultaneously, ensuring uninterrupted shooting. Priced at $61.09 with a 4.3/5 rating from 171 reviews, the rig also offers cold‑shoe mounts for microphones or additional fill lights, expanding creative possibilities.
Step 3: Stabilize the Phone
Stability is essential because any camera shake will break the illusion of a seamless loop. Secure the smartphone in the ULANZI rig’s clip, which accommodates devices 65‑90 mm wide and uses a spring‑loaded grip to prevent accidental drops. The rig’s 1/4" threaded holes enable attachment to a tripod for even greater steadiness. If a tripod is unavailable, the silicone gel pad on the XINBAOHONG ring light can be placed on a flat surface to keep the phone upright during short takes.
Step 4: Capture the Video Clip
Record a short video segment of 3‑5 seconds, ensuring the motion you intend to loop remains continuous throughout the clip. Use the remote control function on the ULANZI rig to start and stop recording without touching the phone, which minimizes vibration. Set the rig’s light to a moderate brightness (around 50 % of maximum) to avoid overexposure while maintaining a natural look. If you are shooting outdoors, the rig’s built‑in power bank can keep the phone charged, preventing battery‑related interruptions.
When filming a subject like a steaming beverage, position the light at a 45‑degree angle to highlight the steam without washing out details. For subjects with subtle motion, such as a gently moving leaf, lower the light intensity and use the XINBAOHONG ring light’s low setting to preserve texture.
Step 5: Import and Edit in a Cinemagraph App
Transfer the video to a computer or open it directly in a mobile cinemagraph app. Trim the clip to the exact loop point where the first frame matches the last frame; most apps provide a visual timeline to assist with this precision. Mask the static area by painting over the region you wish to remain still; the app will freeze that portion while preserving motion in the unmasked area.
Adjust the loop speed and apply a subtle fade‑in/fade‑out if necessary to smooth any visible jumps. Export the final cinemagraph as a GIF or MP4, depending on the intended platform. High‑resolution exports benefit from the stable lighting provided by the XINBAOHONG and ULANZI tools, ensuring the motion appears crisp and the colors stay consistent.
Tips & Pro Tips
- Use a neutral background to keep the viewer’s focus on the motion.
- When possible, shoot in RAW or the highest quality video mode to retain detail for post‑processing.
- Experiment with color temperature on the ULANZI rig; a cooler tone can emphasize water or ice, while a warmer tone enhances skin tones.
- Keep the loop length under four seconds for optimal social‑media performance.
- If the subject’s motion is irregular, consider using a high‑speed frame rate (60 fps) to capture smoother motion.
Troubleshooting
Flickering Light: If the loop shows visible flicker, lower the brightness on the XINBAOHONG ring light or switch to a constant‑temperature setting on the ULANZI rig.
Camera Shake: Ensure the phone is tightly clamped in the rig’s clip and consider adding a small weight to the tripod base.
Loop Mismatch: Re‑trim the video to a point where the motion naturally repeats; use the app’s frame‑by‑frame preview to locate the perfect cut.
Conclusion
By following these steps, one can produce professional‑quality cinemagraphs using only a smartphone, a clip‑on ring light, and a versatile video rig. Proper lighting, stable mounting, and careful editing are the three pillars of a seamless motion still. Whether the goal is to enhance a brand’s visual identity or to share artistic content, the techniques outlined here empower creators to achieve striking results without expensive equipment.
Products Mentioned in This Guide
Frequently Asked Questions
What equipment do I need to create professional‑grade cinemagraphs with my smartphone?
A smartphone with a good camera, a clip‑on lighting source (e.g., a ring light), and a stabilizing rig or tripod are essential.
How does lighting affect the quality of a cinemagraph?
Consistent, directional lighting prevents flicker and highlights the moving element, making the loop appear seamless.
Can I shoot cinemagraphs without a dedicated video rig?
Yes, a simple tripod or stable surface can work, but a rig with built‑in lights offers better control and reduces shake.
What is the best way to select the moving portion of a video for a cinemagraph?
Choose a subtle, repetitive motion (like a flickering candle or flowing water) and mask the rest of the frame to stay static.
Which apps are recommended for editing smartphone footage into a looping cinemagraph?
Popular choices include Flixel, Plotagraph, and Adobe Premiere Rush, all of which let you mask, loop, and export directly from your phone.