How to Master Macro Lighting for Smartphone Product Photography: Step‑by‑Step Tips & DIY Setups
Introduction
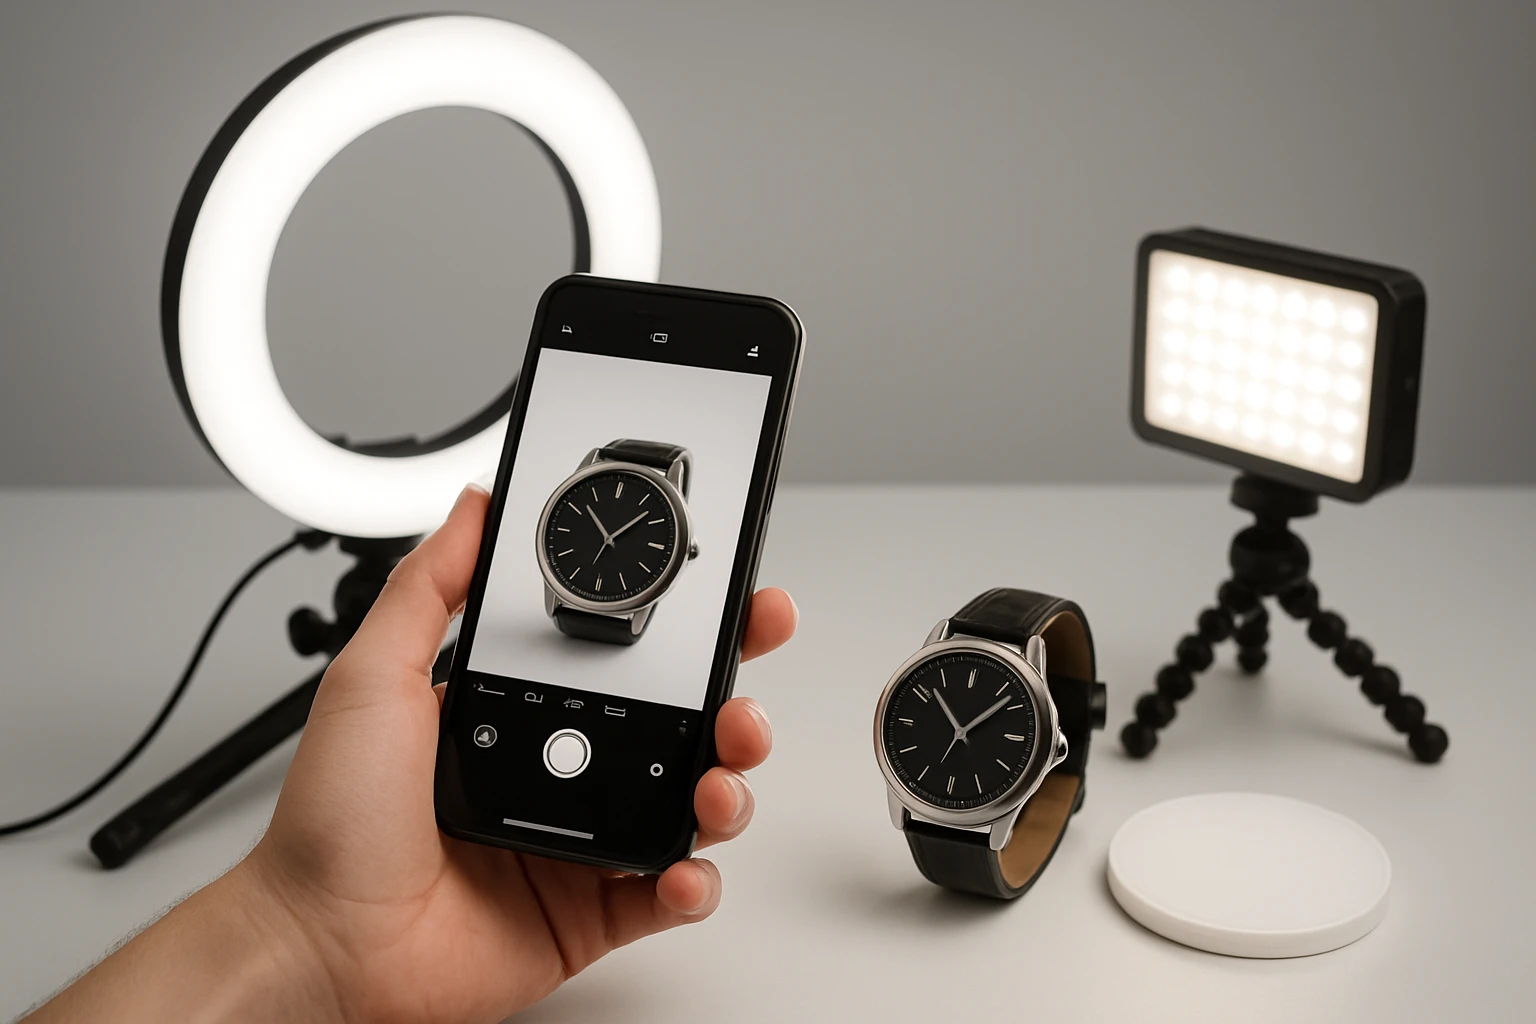
Smartphone cameras have advanced to a point where they can capture detailed product images, yet lighting remains the most critical factor for achieving professional results. This guide will teach the reader how to control illumination, eliminate unwanted shadows, and highlight texture when shooting macro subjects such as jewelry, insects, or small gadgets. By following the outlined steps, one will be able to produce consistent, high‑quality images that showcase product features and increase conversion rates for online sales.
The techniques described are applicable to a wide range of environments, from a modest home studio to a portable on‑location setup. The reader will also learn which affordable accessories can streamline the workflow without compromising image quality. Mastery of macro lighting will enable the creation of compelling visual content that stands out in crowded marketplaces.
What You'll Need
- Smartphone with macro capability or attachable macro lens.
- Stable support such as a tripod or a flexible arm.
- Continuous lighting sources for consistent color temperature.
- Diffusion material (e.g., thin white fabric or parchment).
- Reflectors or white cards to fill shadows.
- Optional accessories: JJC LED Macro Arm Light, EMART Portable Photo Lighting Kit, and ULANZI VL49 RGB Camera Light.
Step 1: Prepare the Shooting Surface
Begin by selecting a clean, non‑reflective surface that contrasts with the product. A matte black or white card works well for most items; the color choice depends on whether the goal is to emphasize contrast or to blend the product into a neutral background. Place the surface on a stable table and ensure that it is free of dust, as macro lenses will capture even the smallest particles.
Position a diffuser a few inches above the product to soften harsh highlights. A simple piece of white parchment can be stretched over a small frame to create a broad, even light source. The diffuser reduces the intensity of direct light, preventing blown‑out specular reflections on metallic or glossy surfaces.
If the product has reflective elements, add a small reflector opposite the main light source. A white card or a piece of aluminum foil can bounce light back into shadowed areas, revealing texture without introducing additional glare.
At this stage, no specialized lighting equipment is required; the focus is on establishing a neutral environment that will respond predictably to the upcoming illumination.
Step 2: Secure the Smartphone and Macro Lens
Attach the macro lens to the smartphone if it is not built‑in. Ensure that the lens is centered over the camera sensor to avoid vignetting. Use a small clamp or a flexible arm to hold the phone steady; any movement will be magnified at close distances.
The JJC LED Macro Arm Light is particularly useful in this step because its 14‑inch flexible arm can be positioned directly in front of the lens without obstructing the field of view. The dual LED heads provide independent control, allowing the photographer to illuminate the subject from either side or both simultaneously.
Key features that make this arm light ideal include ten levels of adjustable brightness, a CRI of 95+ for accurate color rendering, and a 5600K daylight‑balanced temperature that matches most studio lights. The cold‑shoe mount attaches securely to the phone’s tripod adapter, and the Type‑C charging cable permits continuous operation while the battery charges.
By securing the phone with the arm light, the photographer gains precise control over the angle of illumination, which is essential for minimizing shadows and highlighting fine details.
Step 3: Establish Primary Lighting
Turn on the primary light source and set it to a low to medium brightness level. For most product photography, a brightness setting between 40 % and 60 % provides sufficient illumination without washing out texture. The JJC arm light’s ten brightness levels make fine adjustments straightforward.
If additional fill light is required, the EMART Portable Photo Lighting Kit offers a compact LED panel with 60 LEDs and 1400 lumens. Its 180° adjustable angle allows the user to direct light precisely onto the subject, while the 90+ CRI ensures faithful color reproduction.
The kit includes a mini‑tripod that can be positioned on the side of the product to act as a soft fill. Adjust the panel’s angle so that the light grazes the surface rather than striking it head‑on; this technique accentuates texture and creates subtle highlights.
Both lights operate at a daylight‑balanced 5500‑5600K, which eliminates the need for white‑balance correction in post‑processing. The combination of a focused arm light and a broader fill panel creates a balanced three‑point lighting setup that is adaptable to a variety of product shapes.
Step 4: Add Creative Accent Lighting (Optional)
For products that benefit from mood or brand‑specific color accents, the ULANZI VL49 RGB Camera Light provides full‑color RGB output with adjustable hue, brightness, and color temperature. This compact unit can be mounted on the camera’s cold shoe or attached magnetically to a metal surface nearby.
The VL49’s 2000 mAh battery supplies up to two hours of continuous use at maximum brightness, and the built‑in LCD display enables rapid adjustments without removing the phone from the setup. Its CRI of 95+ ensures that the colored light does not introduce unwanted color casts on the product itself.
Use the RGB light to create a subtle rim or background wash that complements the product’s branding. For example, a soft blue hue can emphasize a tech gadget, while a warm amber tone can enhance the richness of handcrafted jewelry.
Because the VL49 can be powered while charging via its Type‑C port, it is suitable for extended shooting sessions where consistent color output is required.
Step 5: Fine‑Tune Exposure and Focus
Set the smartphone camera to manual or pro mode if available. Adjust ISO to the lowest native value (typically 100 or 200) to minimize noise. Set the shutter speed to a value that compensates for the lighting intensity; a speed of 1/125 s is a good starting point for daylight‑balanced continuous lights.
Use the phone’s focus lock feature to ensure the macro subject remains sharp. Tap and hold on the area of interest until the focus indicator stabilizes. If the phone supports focus peaking, enable it to visualize the sharpest region.
Take a test shot and review the histogram. Aim for a balanced distribution without clipping in the highlights or shadows. If the image appears too dark, increase the brightness level on the JJC arm light or raise the EMART panel’s intensity by one step.
Repeat the test until the exposure is consistent across the entire frame. Consistency is crucial when shooting multiple items for a catalog, as it ensures a uniform visual style.
Step 6: Capture Multiple Angles
Macro photography often requires several perspectives to fully convey product features. Rotate the product incrementally, typically in 15‑degree intervals, and capture a series of images. Keep the lighting configuration unchanged to maintain consistent illumination across all shots.
If the product has reflective surfaces, consider swapping the side of the arm light that is active. The JJC LED Macro Arm Light allows independent control of the left and right LEDs, enabling the photographer to illuminate the side that reveals the most detail without causing glare.
Document each angle with a brief note on the camera’s metadata or a separate spreadsheet. This practice simplifies post‑production when selecting the best images for each viewpoint.
When a larger number of angles is required, the ULANZI VL49 RGB Camera Light can be used to add a subtle color cue that differentiates each shot, aiding in organization during editing.
Tips & Pro Tips
- Use a remote shutter or the phone’s timer to eliminate camera shake caused by tapping the screen.
- Maintain a constant distance between the light source and the subject; even a few centimeters of variation can alter the intensity dramatically at macro scales.
- For highly reflective items, place a thin diffusion gel over the LED panel to soften specular highlights without reducing overall brightness.
- When shooting on a reflective surface, angle the arm light slightly off‑axis (approximately 30 degrees) to prevent direct reflections from entering the lens.
- Leverage the magnetic back of the ULANZI VL49 to attach it to metal clamps or a small tripod, freeing up the cold shoe for the macro arm light.
- Store all accessories in a dedicated pouch to ensure quick setup for future shoots.
Troubleshooting
| Problem | Possible Cause | Solution |
|---|---|---|
| Uneven illumination across the product | LEDs set to different brightness levels or arm not centered | Synchronize both LEDs on the JJC arm light to the same brightness and reposition the arm so it is equidistant from the subject. |
| Color cast (too warm or too cool) | Mixed color temperature from different lights | Set all lights to the daylight‑balanced 5600K setting; if using the VL49, select a neutral white hue. |
| Noise in dark areas | High ISO or insufficient lighting | Lower ISO to the base value and increase LED brightness or reduce shutter speed slightly. |
| Battery depletion during long sessions | Insufficient power supply | Connect the JJC arm light and EMART panel to their Type‑C chargers while shooting; both support simultaneous charging and illumination. |
Conclusion
By mastering the principles of macro lighting, the photographer can transform ordinary smartphone images into compelling product visuals that attract customers and convey quality. The steps outlined above provide a systematic approach to setting up a reliable lighting environment, adjusting exposure, and capturing multiple angles with consistency. Incorporating affordable tools such as the JJC LED Macro Arm Light, EMART Portable Photo Lighting Kit, and ULANZI VL49 RGB Camera Light enhances control while keeping the workflow efficient and portable.
Practice the techniques regularly, refine the setup based on specific product characteristics, and experiment with creative accent lighting to develop a distinctive visual style. With dedication, even a modest smartphone can produce macro photographs that rival those taken with professional DSLR equipment.
Products Mentioned in This Guide
Frequently Asked Questions
What basic lighting equipment do I need for macro product shots with a smartphone?
A small LED panel or ring light, a diffuser, a stable tripod or mount, and optionally a clip‑on macro lens are enough to start.
How can I eliminate harsh shadows when shooting small items?
Position a diffused light source at a 45° angle and use a reflector or white card opposite the light to fill shadows.
Is it necessary to use a separate macro lens on my phone?
A dedicated macro lens improves close‑up detail, but many modern phones can capture macro shots without one if you get close enough.
What are the best DIY setups for consistent macro lighting on a budget?
Create a light tent from a white cardboard box with translucent fabric, place a cheap LED lamp inside, and mount your phone on a stable stand.
How does lighting affect product conversion rates in online stores?
Well‑lit macro images reveal texture and detail, building trust and increasing the likelihood of purchase.