Introduction
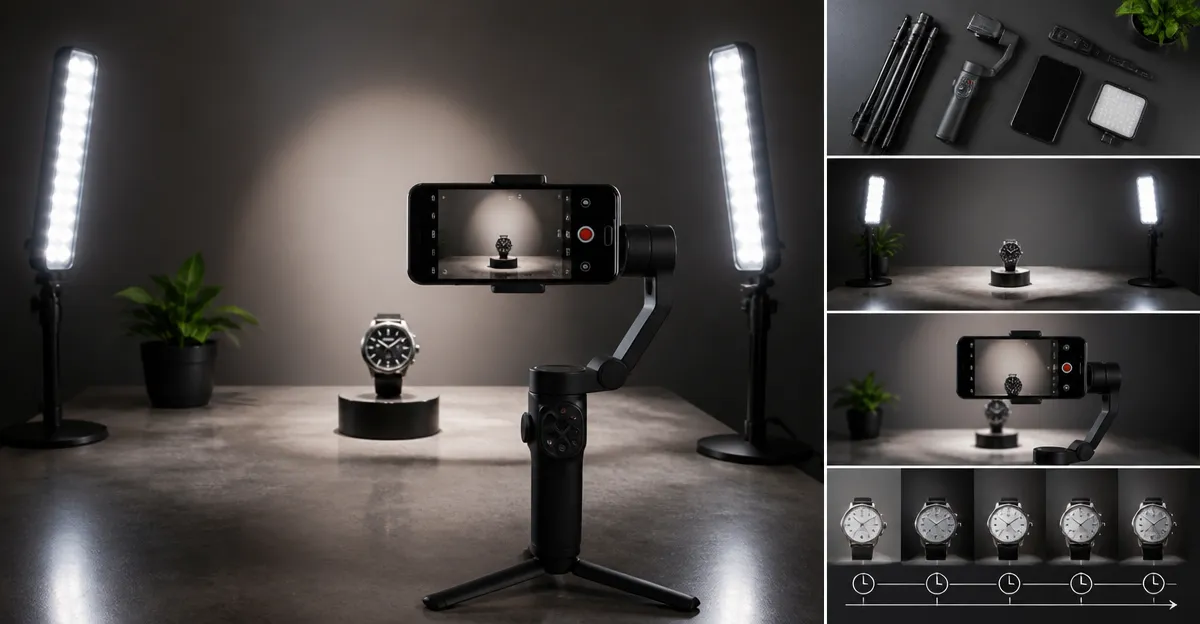
In this guide one will learn how to produce professional automated product time‑lapse videos using a smartphone, a gimbal, and LED lights. The workflow combines careful planning, stable mounting, precise app configuration, and efficient post‑processing. By following each step one can achieve cinematic motion without expensive cinema‑grade equipment. The result is a compelling visual asset that can enhance e‑commerce listings, social media feeds, and marketing campaigns.
What You’ll Need
- Smartphone with a capable camera and time‑lapse mode.
- Handheld gimbal compatible with the smartphone.
- LED panel lights or portable LED strips for consistent illumination.
- Neewer TP34 Flexible Mini Phone Tripod – versatile mount for tabletop and wrap‑around positioning.
- K&F Concept 64in Travel Tripod – lightweight, high‑reach tripod for full‑frame stability.
Each item in the list contributes to a stable, well‑lit, and repeatable shooting environment. The smartphone captures high‑resolution frames, the gimbal adds smooth motion, the LED lights ensure uniform exposure, and the two tripods address both close‑up tabletop work and larger‑scale setups.
Step 1: Plan the Scene and Define the Timeline
The first task is to decide the product angle, background, and total duration of the final video. One should sketch a storyboard that marks key moments such as product reveal, rotation, and close‑up details. Determine the interval between frames; for a 30‑second video at 24 fps one needs 720 frames, which at a 10‑second interval requires two hours of capture. Planning ahead prevents wasted battery life and ensures that lighting conditions remain consistent throughout the shoot.
Consider the background texture and color; a neutral gray or white surface often highlights product features without distraction. Additionally, decide whether the camera will remain static or incorporate a slow pan, as this decision influences the choice of mounting equipment in later steps.
Step 2: Set Up Consistent LED Lighting
LED lights provide flicker‑free, adjustable illumination that can be balanced across the product surface. Position a key light at a 45‑degree angle to the left, a fill light opposite, and a backlight to separate the product from the background. Use diffusion material such as a softbox or a white sheet to avoid harsh shadows. Verify color temperature consistency by checking the smartphone’s white‑balance preview before starting the capture.
If the shooting environment has mixed lighting, apply color‑correction gels to the LED panels to match the ambient temperature. Maintaining a constant light output throughout the recording session eliminates exposure shifts that can appear as flickering in the final time‑lapse.
Step 3: Mount the Smartphone Securely
A stable mount eliminates jitter and ensures that each frame aligns perfectly with the previous one. The Neewer TP34 Flexible Mini Phone Tripod offers a compact, bendable design that can wrap around desk legs, poles, or even bike handlebars, providing unparalleled flexibility in tight spaces. Its seven intertwined aluminum wires give superior stability while the 1/4‑inch screw accommodates most smartphones and small action cameras. With a load capacity of up to 4.4 lb (2 kg) the tripod can safely hold most modern devices, and the 360° swivel with 90° tilt enables seamless switching between portrait and landscape orientations.
Secure any charging cable or external microphone using the tripod’s built‑in cold shoe or a small cable tie to prevent accidental tugging. Ensure that the smartphone’s screen is locked in landscape mode if the app requires a fixed orientation, and double‑check that the locking knob is tightened before beginning the capture.
Step 4: Configure the Time‑Lapse Application
Select a time‑lapse app that supports manual exposure, focus lock, and interval control; popular choices include Lapse It, Camera FV‑5, and native iOS/Android options. Disable auto‑focus and auto‑exposure to maintain consistent framing and lighting across all frames. Set the interval based on the desired final duration, and enable the “hold screen on” option to prevent the device from sleeping. Test a short burst of five frames to confirm that the exposure and focus remain steady before commencing the full capture.
Save the configuration as a preset within the app so that it can be quickly reloaded for future product shoots. This practice reduces setup time and minimizes the risk of accidental setting changes during long recording sessions.
Step 5: Integrate the Gimbal for Smooth Motion
If the product requires a rotating perspective, attach the smartphone to a handheld gimbal that offers programmable motion paths. Many gimbals allow a “pan‑and‑tilt” mode where one can set a slow, continuous rotation speed that matches the time‑lapse interval. This approach produces fluid motion without the need for manual adjustments between frames. Ensure the gimbal is balanced before powering on, and lock the motor output to a low speed to avoid over‑exposing the sensor during long exposures.
Calibrate the gimbal’s horizon and level settings to keep the product upright throughout the rotation. Some gimbals also provide a “follow‑focus” feature that can be disabled to keep the focus fixed on the product surface.
Step 6: Capture the Sequence
With the lighting, mounting, and app settings finalized, start the time‑lapse capture and monitor the first few frames for any drift or flicker. If using the K&F Concept 64in Travel Tripod, extend the legs to the desired height and engage the quick‑flip leg locks for rapid setup. The tripod’s 360° ball head allows precise angle adjustments, and its 17.6 lb (8 kg) load capacity ensures that additional accessories such as a larger LED panel remain stable. Periodically check battery levels on both the smartphone and any external lights to avoid interruptions.
For extended shoots, connect the smartphone to a power bank using a short USB‑C cable routed along the tripod leg to keep the power source out of the frame. Likewise, mount the LED lights on the tripod’s side arms if available, using the cold shoe or a small clamp to maintain consistent positioning.
Step 7: Post‑Process and Export the Final Video
After the capture is complete, import the image sequence into video‑editing software such as Adobe Premiere Pro, DaVinci Resolve, or a mobile app like Lapse It Pro. Set the frame rate to 24 fps or 30 fps, and apply any color‑grading or sharpening filters to enhance product details. Export the video using an H.264 codec for optimal balance between quality and file size, suitable for uploading to e‑commerce platforms and social media. Finally, review the video on multiple devices to ensure consistent playback quality.
Consider adding a subtle background music track and on‑screen captions that highlight key product features. These elements increase viewer engagement and can convey additional information without detracting from the visual focus.
Tips & Pro Tips
- Use a remote shutter or Bluetooth trigger to start the time‑lapse without touching the smartphone, preventing accidental movement.
- Place a small piece of foam under the tripod legs on hard surfaces to reduce vibration transmission.
- When shooting in a bright environment, lower the ISO and use a neutral density filter to maintain proper exposure during long intervals.
- For products with reflective surfaces, add a polarizing filter to the smartphone lens to minimize glare.
- Backup the image sequence to a cloud service or external drive immediately after the shoot to avoid data loss.
- Enable the “grid” overlay on the smartphone screen to verify that the product remains centered throughout the sequence.
- If the gimbal offers a “time‑lapse” mode, test it separately to ensure that the motor does not introduce unwanted vibration.
- Use a matte backdrop to reduce reflections on glossy products.
- Record a short test clip at the intended interval to verify that the final video meets the desired speed.
Troubleshooting
- Frames appear blurry: Verify that focus lock is enabled and that the smartphone did not shift on the mount.
- Exposure varies between frames: Ensure auto‑exposure is disabled and that LED lights remain at a constant brightness.
- Battery drains quickly: Use an external power bank to power the smartphone and LED lights simultaneously.
- Gimbal motor noise is captured: Reduce the gimbal’s motor strength or enable a “silent mode” if available.
Conclusion
This guide has demonstrated how to create automated product time‑lapse videos using a smartphone, a gimbal, LED lighting, and two affordable accessories. By following the planning, setup, capture, and post‑processing steps one can achieve professional‑grade results without a dedicated cinema rig. The recommended Neewer TP34 Flexible Mini Phone Tripod and K&F Concept 64in Travel Tripod provide reliable stability for both tabletop and full‑height shots. Apply the tips, avoid common pitfalls, and experiment with creative lighting to continuously improve the visual impact of product showcases. With practice one will develop a streamlined workflow that reduces production time while delivering high‑quality content for any marketing channel.
Products Mentioned in This Guide
Frequently Asked Questions
What equipment do I need to shoot an automated product time‑lapse with a smartphone?
You need a smartphone with time‑lapse mode, a compatible handheld gimbal, LED lighting, and a stable mount such as the Neewer TP34 mini tripod or a travel tripod.
How does a gimbal enhance the quality of a product time‑lapse?
A gimbal steadies the smartphone’s motion, preventing jitter and ensuring smooth, cinematic pans throughout the capture.
Why should I use LED lights for product time‑lapse videos?
LED lights provide consistent, flicker‑free illumination, highlighting product details and avoiding exposure shifts during long recordings.
Can I substitute the recommended Neewer TP34 tripod with another smartphone holder?
Yes, any stable tripod or mount that securely holds the phone and gimbal will work, as long as it prevents movement and allows flexible positioning.
What post‑processing steps are needed to finalize a professional product time‑lapse?
Import the clips, adjust exposure and color balance, trim unwanted frames, and export in a high‑resolution format suitable for e‑commerce or social media.