How to Build Pro‑Quality DIY Smartphone Lighting for Low‑Light Filming (Easy, Budget‑Friendly Guide)
Introduction
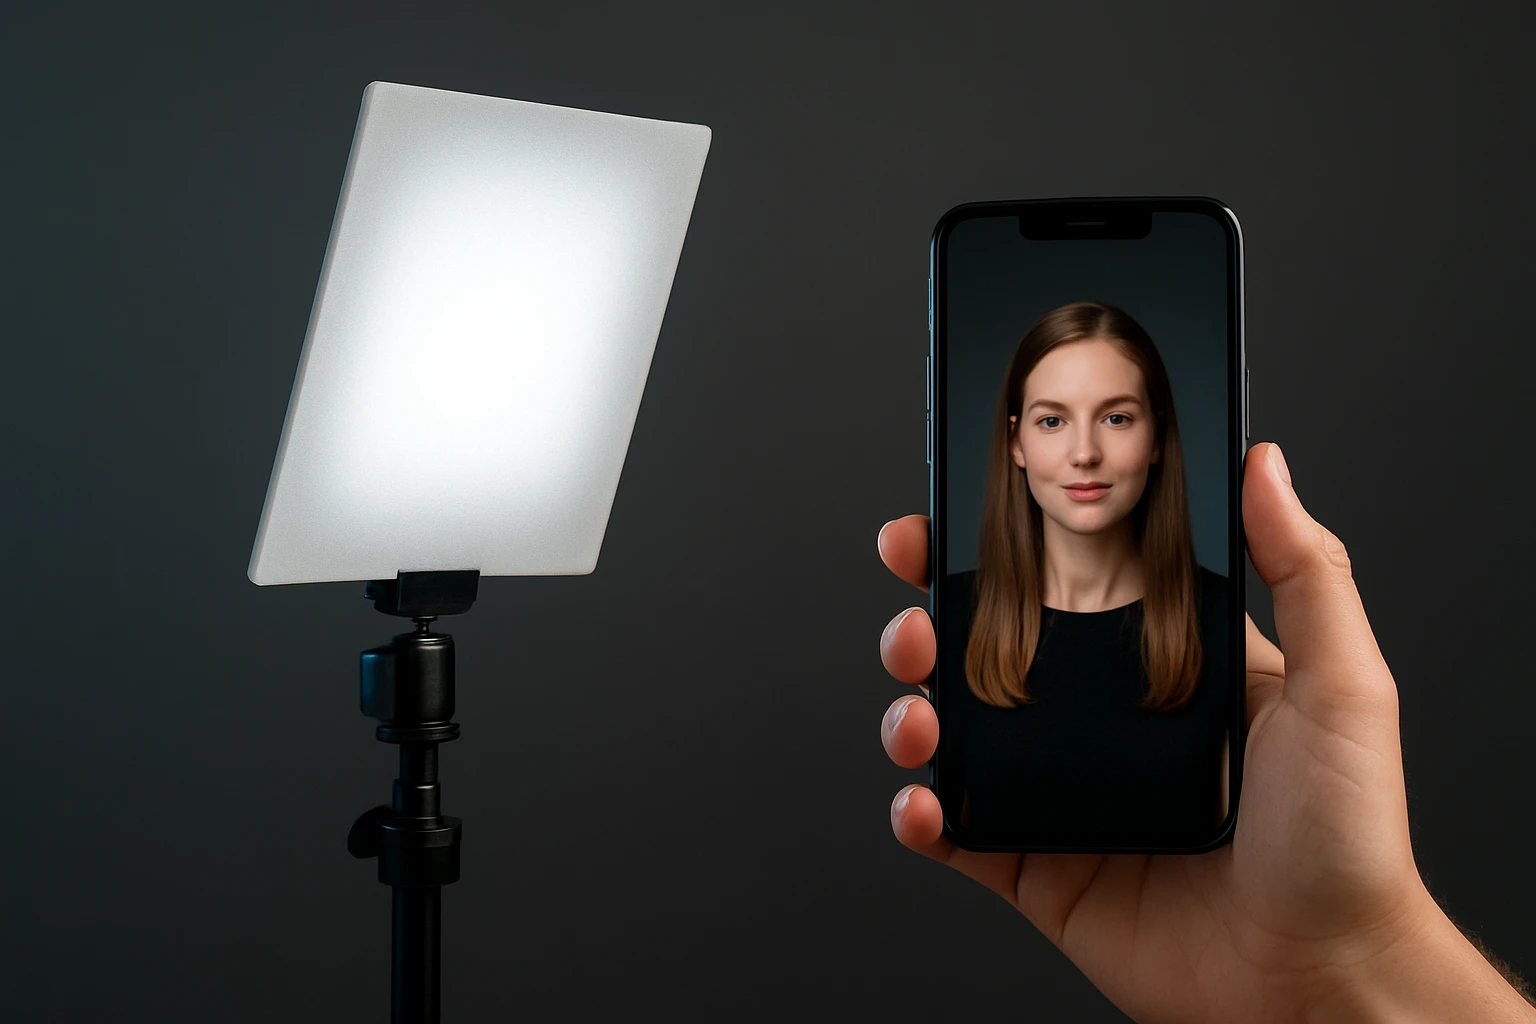
Creating high‑quality video content with a smartphone often fails because lighting is insufficient or uneven. This guide explains how to assemble a reliable lighting rig that works in dim environments without breaking the bank. Readers will learn which tools simplify the process, how each component improves image quality, and practical techniques for consistent results. By following the steps, one can produce professional‑looking footage that rivals dedicated camera setups.
What You’ll Need
The following items cover the essential functions of a lighting rig: a primary light source, a flexible mounting system, a power solution, and optional accessories for fine‑tuning. Each product listed below is linked to its Amazon page for convenience, but alternative brands may also satisfy the specifications.
- Sensyne Ring Light – 10‑inch LED circle light with tripod, touch control, and Bluetooth remote. Price: $29.99, Rating: 4.4/5 (72,318 reviews).
- yAyusi Phone Light – Handheld stabilizer with built‑in 8000 mAh battery and dimmable 200‑LED ring. Price: $33.99, Rating: 4.6/5 (150 reviews).
- PICTRON U200 Rig – Full‑size video rig with 20 W LED, 8000 mAh power bank, and multi‑device mount. Price: $79.95, Rating: 4.3/5 (717 reviews).
- ORSOIRGIFON Portable Selfie Light – Compact 60‑LED clip‑on light with 3 modes and 2000 mAh battery. Price: $9.99, Rating: 4.6/5 (533 reviews).
In addition to the products above, one should have a USB‑C charging cable, a small set of screwdrivers, and optional diffusion material such as a white parchment sheet.
Step 1: Evaluate the Shooting Environment
The first task is to measure the ambient light level and identify shadows that may appear on the subject. Use a smartphone light‑meter app to record lux values; values below 200 lux indicate a low‑light scenario that requires supplemental illumination. Note the direction of any existing light sources because they will influence the placement of the artificial light. This assessment determines whether a single ring light will suffice or whether a multi‑light rig is advisable.
Step 2: Choose a Primary Light Source
For most solo creators, a single ring light provides even, flattering illumination that reduces facial shadows. The Sensyne Ring Light offers three color modes (cool white, warm yellow, daylight) and ten brightness levels, allowing precise control over the lighting temperature. Its 10‑W LED panel produces sufficient output for indoor filming when powered by a 5 V 2 A adapter, and the touch panel ensures quick adjustments without interrupting the shoot. The included Bluetooth remote extends control up to 30 feet, which is valuable when the camera is positioned away from the operator.
If a more versatile setup is required—such as on‑the‑go vlogging or outdoor interviews—the yAyusi Phone Light combines a stabilizer and a dimmable ring light in a single handheld unit. Its 200 high‑brightness LEDs are steplessly adjustable from 3000 K to 9000 K, and the built‑in 8000 mAh battery supplies up to four hours of continuous use at maximum brightness. Because the device includes a 1/4‑inch screw mount, one can attach additional accessories such as microphones or a small softbox.
Step 3: Secure the Light to a Stable Platform
A stable mounting system prevents unwanted movement that can cause flicker or shift focus during recording. The Sensyne Ring Light arrives with a 50‑inch extendable tripod that converts from tabletop height (15.7 in) to full‑length standing position, offering flexibility for seated or standing subjects. The tripod’s quick‑release mechanism allows the user to reposition the light within seconds, a feature that saves time during multi‑scene shoots.
For creators who prefer a handheld approach, the yAyusi Phone Light’s built‑in base functions as a lightweight tripod, while the PICTRON U200 Rig provides a more robust solution with a dedicated bottom support and 20 W LED panel. The rig’s 8000 mAh power bank can also charge a smartphone during long sessions, reducing the need for separate chargers. Its cold‑shoe mounts enable the addition of a microphone or a secondary fill light, expanding the rig’s utility beyond simple illumination.
Step 4: Adjust Color Temperature and Brightness
Accurate color temperature ensures that skin tones appear natural and that the footage matches any existing ambient light. The Sensyne Ring Light’s three preset modes simplify selection: cool white for daylight mimicry, warm yellow for indoor ambience, and daylight for balanced output. Users can fine‑tune the temperature by selecting the appropriate mode and then adjusting brightness via the touch panel.
The yAyusi Phone Light and PICTRON U200 Rig both support stepless adjustments, giving creators granular control from 2500 K to 8500 K (yAyusi) or 2500 K to 8500 K (PICTRON). This range accommodates everything from warm indoor lighting to cool outdoor conditions. When filming a subject with makeup, selecting a temperature close to 5600 K (daylight) often yields the most flattering result because it reproduces the color balance of natural sunlight.
Step 5: Add Diffusion and Positioning Accessories
Direct LED light can produce harsh highlights; diffusion softens the light and creates a more cinematic look. The Sensyne Ring Light includes a built‑in diffuser that spreads light evenly across the subject’s face. For additional diffusion, one may attach a thin white parchment or a professional softbox to the tripod’s 1/4‑inch thread.
The ORSOIRGIFON Portable Selfie Light serves as an inexpensive supplemental fill light that clips onto a laptop, tablet, or camera rig. Its 60 LEDs deliver three modes (white, natural, warm) and ten brightness levels, making it ideal for balancing side‑lighting or eliminating shadows in a cramped desk setup. Because the unit is only 95 g, it can be positioned on a secondary tripod without adding noticeable weight.
Tips & Pro Tips
Always power the ring light with a charger that supplies at least 5 V 2 A; using a lower‑current adapter can cause flickering or reduced brightness. When filming for extended periods, keep a spare USB‑C cable and power bank nearby to avoid interruptions. Position the light at a 45‑degree angle from the subject’s face to create a natural catch‑light in the eyes while preserving depth.
For outdoor shoots, use the yAyusi Phone Light’s battery mode and shield the LED panel from direct sunlight with a small reflector to prevent overexposure. If the background appears too bright, increase the distance between the light and the subject while lowering the brightness setting; this creates a gradual fall‑off that separates the subject from the backdrop. Finally, record a short test clip and evaluate the histogram on the smartphone to verify that highlights are not clipped and shadows retain detail.
Troubleshooting
Problem: The ring light flickers or dims unexpectedly.
Solution: Verify that the power adapter meets the 5 V 2 A requirement; replace the cable if it shows signs of wear. If using a power bank, ensure it is fully charged and capable of delivering the necessary current.
Problem: Battery life depletes faster than expected on the PICTRON U200 Rig.
Solution: Reduce the brightness to below 70 % and switch to a cooler color temperature, which consumes less power. Additionally, keep the rig’s firmware updated if a mobile app is provided, as software optimizations can improve energy efficiency.
Conclusion
By following the outlined steps, one can construct a flexible, budget‑friendly lighting system that dramatically improves smartphone video quality in low‑light conditions. The combination of a reliable primary light, a stable mounting platform, and thoughtful diffusion yields results comparable to professional studio equipment. Creators are encouraged to experiment with color temperature and positioning to discover the aesthetic that best matches their brand. With the right tools, high‑quality content becomes achievable for any budget.
Products Mentioned in This Guide
Frequently Asked Questions
What are the essential components for a DIY smartphone lighting rig?
You need a primary LED light source, a flexible mounting system, a power solution (battery or USB), and optional accessories like diffusers or color gels.
Can I use a ring light for low‑light filming with my smartphone?
Yes, a 10‑inch LED ring light provides even illumination and can be mounted on a tripod or phone holder for consistent results.
How do I power a DIY lighting setup without an outlet?
Use portable power banks or rechargeable battery packs that support USB‑C or DC output to run LED lights on the go.
What mounting options work best for smartphone cameras?
Flexible goosenecks, clamp‑on phone holders, and small tripods allow precise positioning of the light relative to the phone lens.
Do I need additional accessories like diffusers or gels?
Diffusers soften harsh shadows and gels adjust color temperature, both helping achieve a professional look in low‑light conditions.